Add your own title and intro here (Change this under Settings -> General -> Tagline)

Category: Free Inquiry

This is the category to apply to your Free Inquiry posts.

Final Free Inquiry Arts Reflection (#8)

Wow! This has been an adventure, there has been great success as well as bumps in the road but I would not want to change that process.

It started with the introduction to the arts inquiry where I listed a few ideas for each week’s mini project. I also included a very long list of topics that I thought I would cover in the write-up aspect of each post. I found within a few weeks that answering all of the questions I had listed was not realistic so I adapted and tried to hit a few of them each time but not all in every post.

(#2) Perspective Drawings was an activity that I found in my L2P class and I immediately fell in love with it. The activity itself is incredibly simple and does not require many materials but it can be used in so many ways. It can be used to talk about diversity, culture, understanding differences, political electoral parties, and so much more. This is one thing that I can see sticking with me throughout my career and I am very excited to get to run through it with my own class one day.

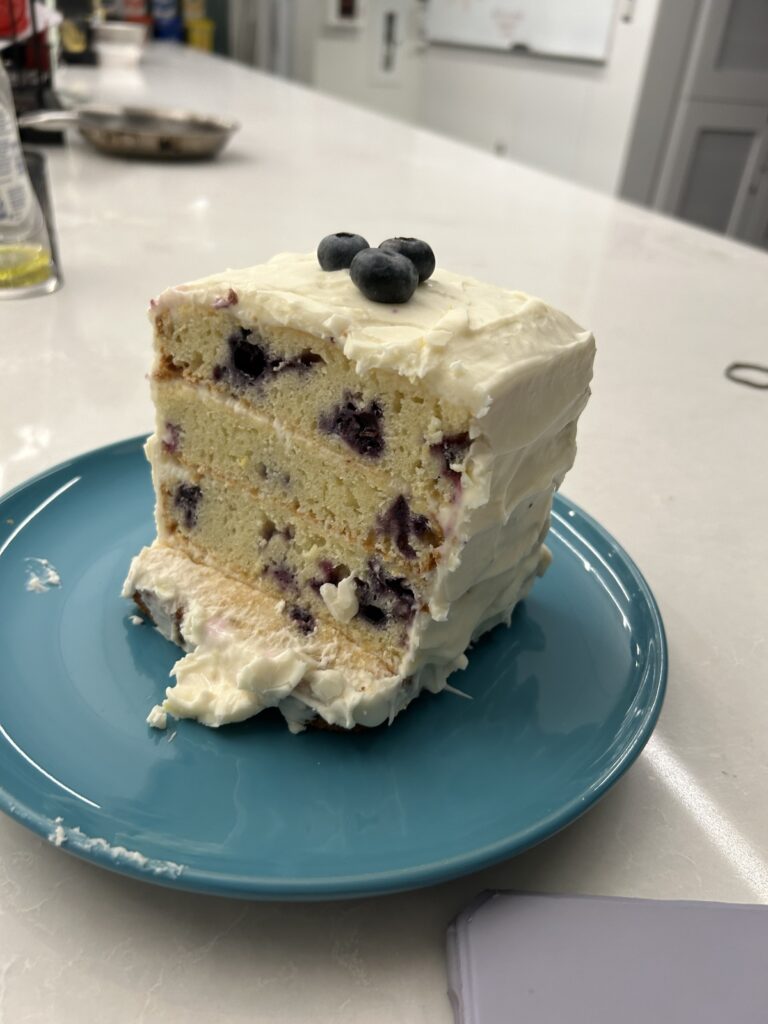
(#3) The Art of Cake Decorating was definitely not the smoothest or easiest project. It did not turn out the way I was hoping, but I still inadvertently learned quite a bit, like don’t freeze your cake before icing it, don’t use thick and heavy cake without a thick icing that will hold its shape, shape the cake layers before you start icing, and last but not least CAKE DECORATING IS NOT AS EASY AS IT LOOKS. Even with all these bumps in the road, the process was fun, and I will pat myself on the back for the fact that, although ugly, that cake tasted delicious!

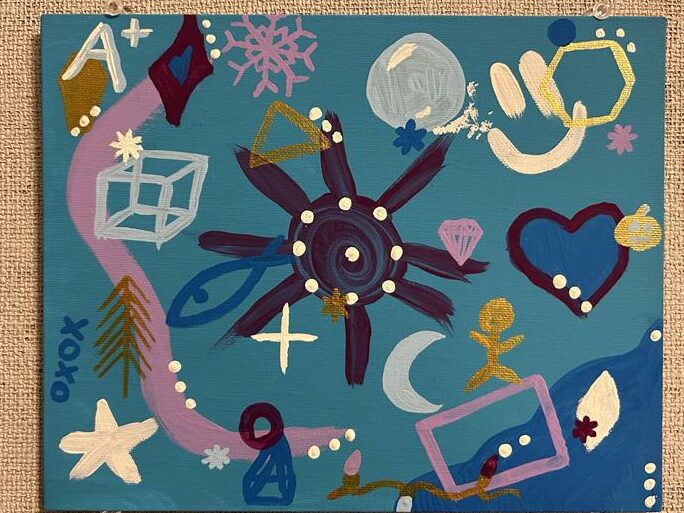
(#4) I Don’t Know What To Do Paintings were inspired partly by the fact that I was doing a lot of random painting events around the time of this post, and I genuinely did not know what to paint. The other aspect behind this topic was me saying, “I don’t know what to do for this blog post.” To be honest, I made this topic up on the spot and ran with it, and I am glad I did. There are a few aspects from this post that I do think would make a great art project and teaching lesson. That being the random things/eye spy painting. I think that it would be great to teach kids that when you don’t know what to do, you just have to start and continue until something strikes inspiration; plus they get a fun eye spy game they can take home.

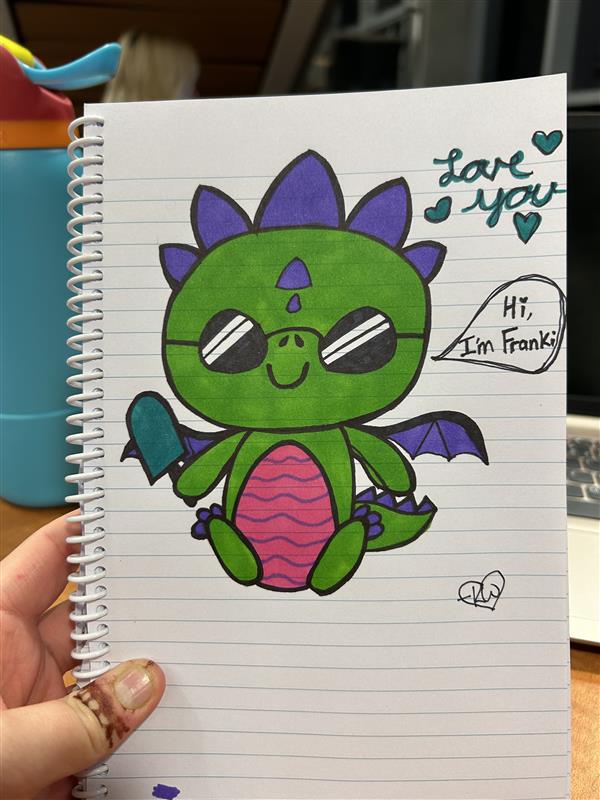
(#5) Art For Kids Hub is genuinely one of the best and one of my favourite art resources that I couldn’t recommend highly enough! It is great for all ages, easily accessible, and the kids love it. This post was definitely one of the shortest ones, but I believe it is fine because the topic mostly speaks for itself. It was also my favorite one to do because it meant I got to set aside time to do a few drawings myself which is something I do not usually have time for.

(#6) Origami is a topic that can be tricky for kids, especially when they are expecting their first try to look like yours, who has been doing it for years, but it is still worthwhile, in my opinion. It teaches perseverance and strongly emphasizes listening closely and following instructions. I also find that for myself, doing origami serves as a fidget, just like a squishy ball or a sensory toy. Once I have learned how to make something and have memorized the steps I do not always have to look at what I’m doing to make my creation. It is a way to keep my hands busy and my mind free when sitting and listening to a lecture or when I am stressed out; plus, you get a fun little animal or object when you are finished. I hope by teaching origami to students, some of them will also use it as a tool to calm down or demonstrate productive fidgeting.

(#7) Card Making on Canva was a fun project that ended up being adapted from my original plan, which was physical card making with scrapbooking and watercolour elements. I found that I didn’t possess the resources/materials or time that I would have wanted/needed to dedicate to this as a physical project. So I turned to technology, and I am glad I did because this was a fun, calming project to do amongst all the assignments due and coming due soon. Another cool thing I realized when designing the cards is that I could still incorporate watercolour and scrapbook aesthetics due to Canva’s vast design options. This would also be so fun to do with students, provided you have a Canva account and the technology to run it.

.

I also wanted to attach a few of my favourite pictures that I took during this project below.
.

It was so nice to have y’all on this art adventure, I hope you got something out of it, because I sure did!

A final art farewell, or at least until we meet again,

-Kristen
Card Making on Canva (#7)

Canva is a great tool that can be used in many ways. For this art activity, I have used it to design cards.

I typically make my cards from a blank flyer format page and add in the rectangle border and center line but I believe there is also a specific card making template to use if you don’t want to have to fiddle with it too much.

———————————————BIRTHDAY———————————————–

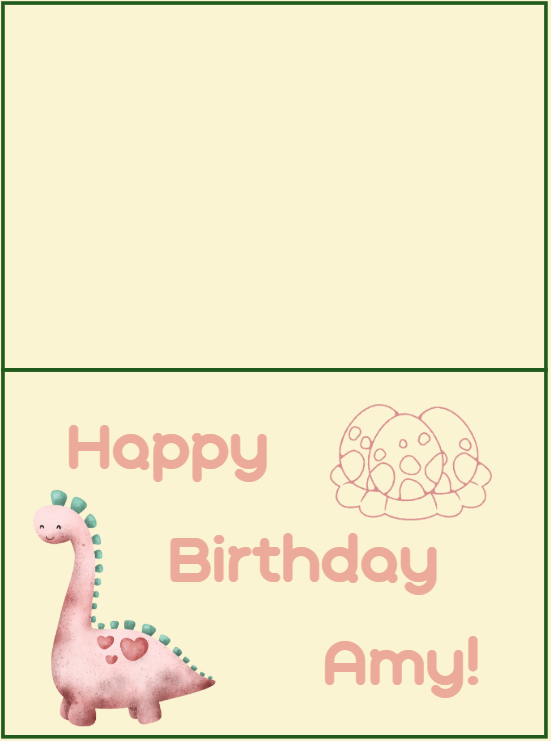
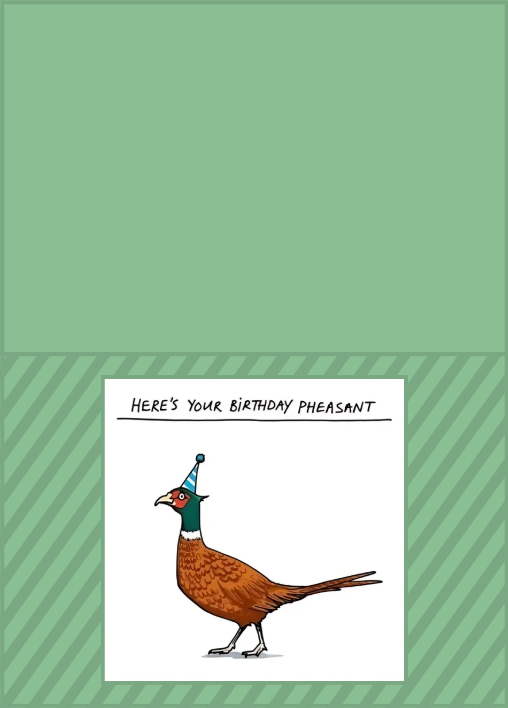
I made this card for a friends birthday.

.

This one was for my cousin’s daughter’s 3rd birthday that was dino-themed.

—————————————— THANK YOU ——————————————–

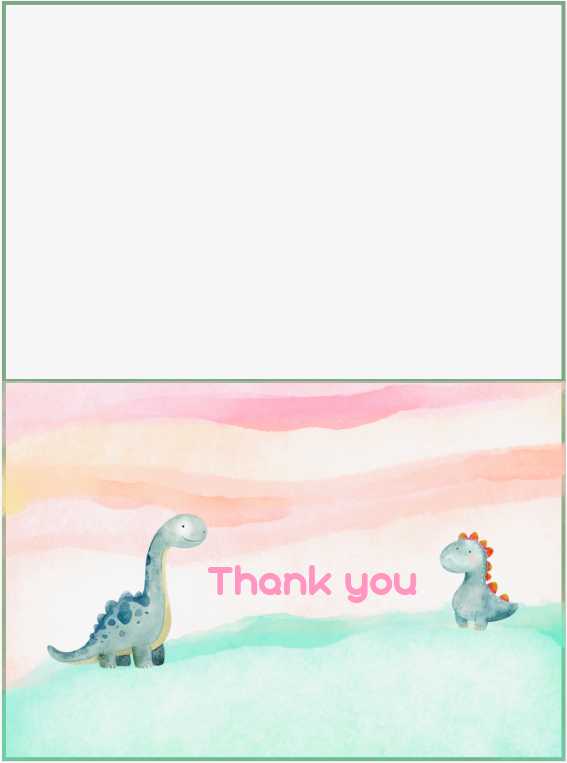
Again we have dinos, but this one was for a friend (in her 20s) who helped me with a home project.

.

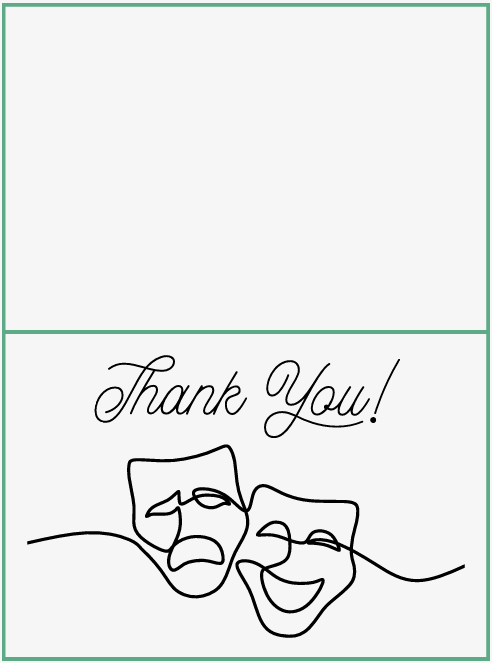
I made this one for a teacher and her class who had invited myself and some of my coworkers in to run a drama/puppet activity with the class.

.

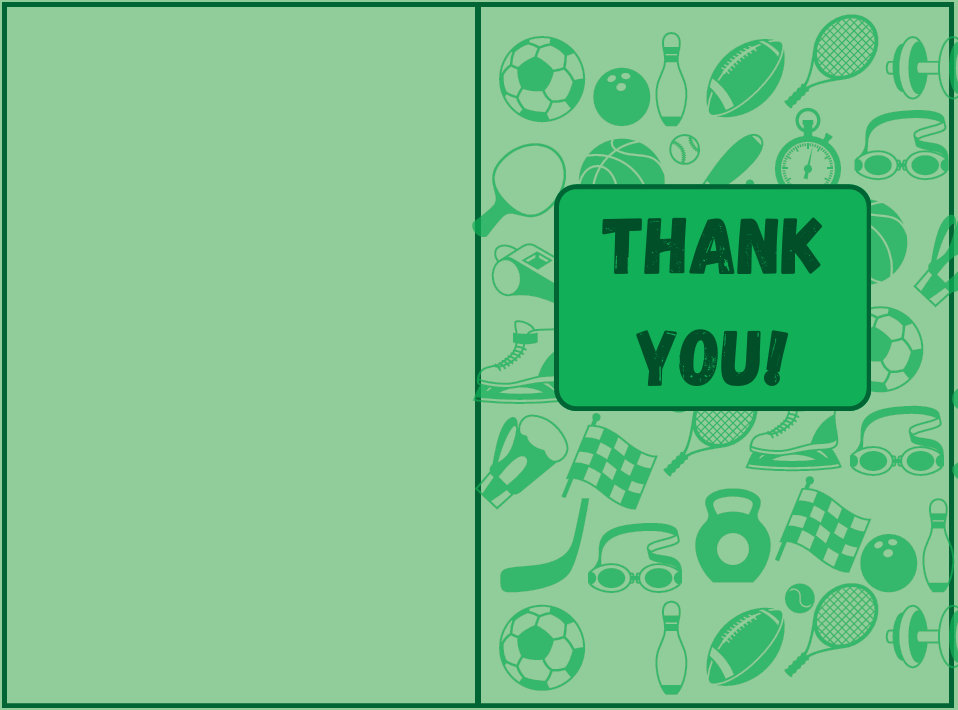
This one was for a sports and rec program leader I worked with back home over the summer.

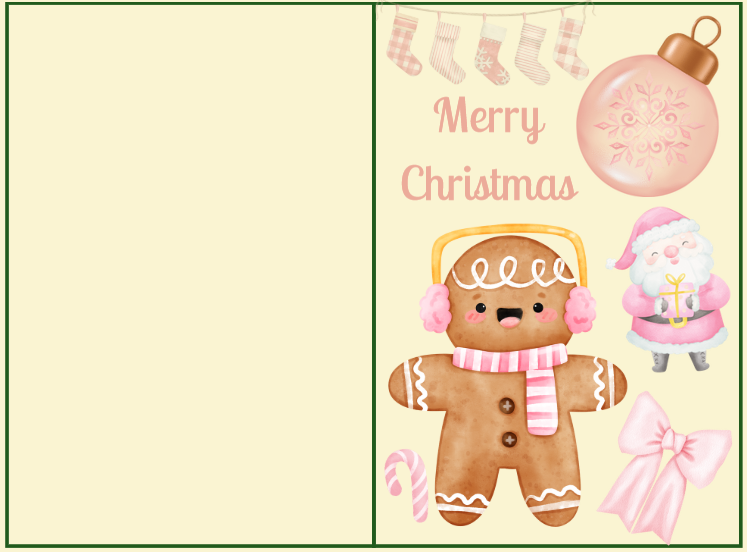
————————————– MERRY CHRISTMAS————————————–

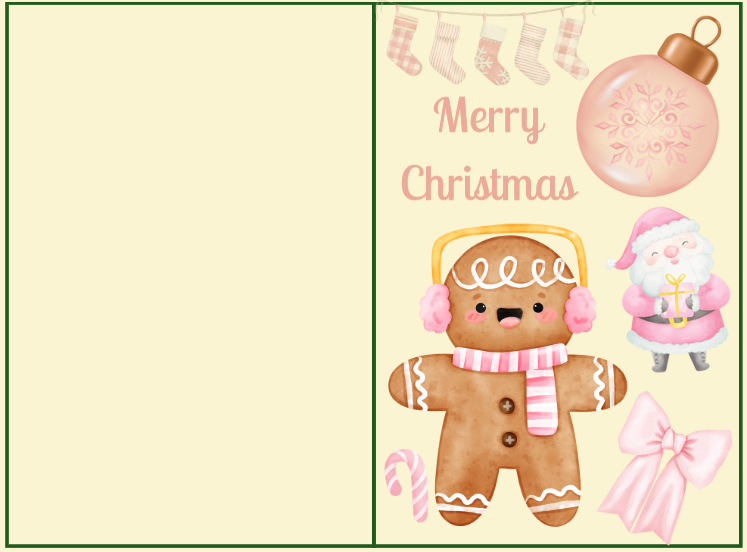
I screen recorded myself making this next card. It took me a little over 10 minutes but I have slightly shortened it, still I do recommend watching at 1.5 or 2 speed because its still kind of long.

The final product!

Admittedly making vertical cards can be tricky the way I did it and involves a lot of dramatic head turning but it still ends up pretty nice.

.

This is a great activity to introduce to students because it gets them thinking about art in a digital format but it is still very easy to understand and accessible. You could very easily have the kids design a card or poster and print them out as a fun memento. You could run this as a 15 minute activity or as long as you want because there is so much fun stuff on Canva that it could keep the students invested for an extended period of time.

I hope you found this interesting and give Canva designing a go!

Au revoir,

-Kristen

Origami (#6)

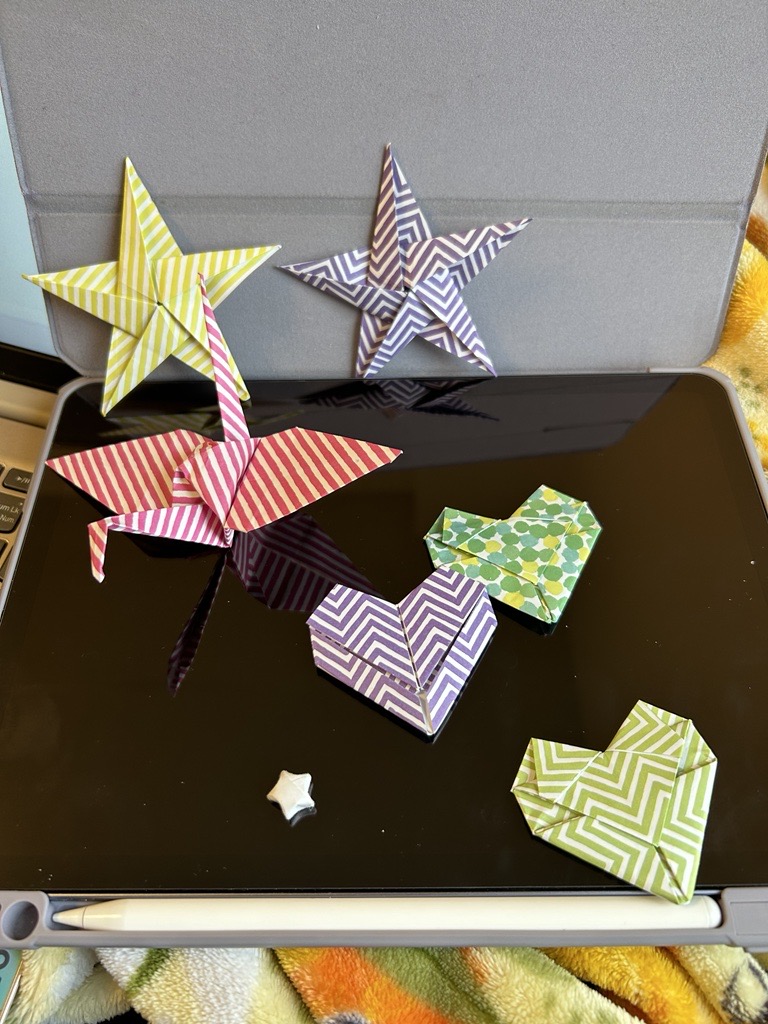
Origami is one of my favourite art forms because you can take a single piece of paper and transform it into something unexpected. Such simple tools and technology can create wonder in those around you. Origami is also a great project for students because it can enhance listening and attention skills, and the students get the chance to learn a fun new skill that they can use as a party trick of sorts with their friends. I have added a few of my go-to easy origami projects below as well as when and why I first learned them.

I have always found origami interesting, but the main hook that started me making it and growing my confidence was when I learned the paper crane. Funny enough I learned how to make paper cranes from my grade 12 Calculus teacher in high school. One day, when I was in his classroom catching up on some work, he was reminiscing about when he used to know how to make paper cranes. I was interested and asked if he could teach me how, and although he was rusty, we figured it out right then. It was such a fun moment and it spurred me on to continue making them throughout the year until his classroom was filled with them.

.

The second origami piece I wanted to include is a simple 5-point star. This one admittedly needs one more tool than just paper, and that is a pair of scissors to cut off some excess paper. I learned this one when I was in my first year of Uni. At the time, I was overwhelmed by being away from home for the first time and all the new coursework, so I googled simple origami, and this one popped up. I found it to be fun and easy, as well as a distraction from all the first-year stress. I made many of these stars that year and would stick them to the front of my door colour-coded for whichever holiday was near.

.

This specific paper heart is currently one of my top two favourite origami. I have been making a lot of these lately and stringing them on yarn to turn them into a garland. The first time I ever made one of these hearts was actually not from a video, but rather, I learned it during class from my ASL professor last year. During the class we were learning and working on following directions visually by hand movements and gestures rather than signing specific words and this was one of the activities that our prof brought in to teach us. It was a little bit tricky at times, but it was also the most fun lesson/class that I have ever had at university.

.

Finally, the lucky stars. I have always been interested in these, and I remember when I was younger, trying to make them and never quite getting them right. I only recently just picked up on these again, and now, as an adult, I find them significantly easier. I started making these a few weeks ago when I was with my L2P class. There was one student who was not feeling well and was having a pretty bad day, so I tried to distract her by offering to teach her some origami. She asked if I knew how to make these stars, and at the time, I did not remember, but I decided to look it up and figure it out so I could teach her. She was so happy when I was able to show her and make them with her, even though she occasionally needed help finishing them off. Since then, I have been making them pretty frequently and randomly giving them to friends and coworkers so I don’t have so many.

.

I also know how to make a pretty cool dragon that is quite a bit trickier. A friend taught it to me last year, and I couldn’t find a good video to add but it is included in the picture below of examples of some of my origami creations.

.

I hope you give one of these a try if you are interested,

-Kristen

ART for Kids Hub (#5)

This week’s post is a SUPER fun and easy art lesson/activity that you can do with students of any age group from K onwards. This is ART for Kids Hub!

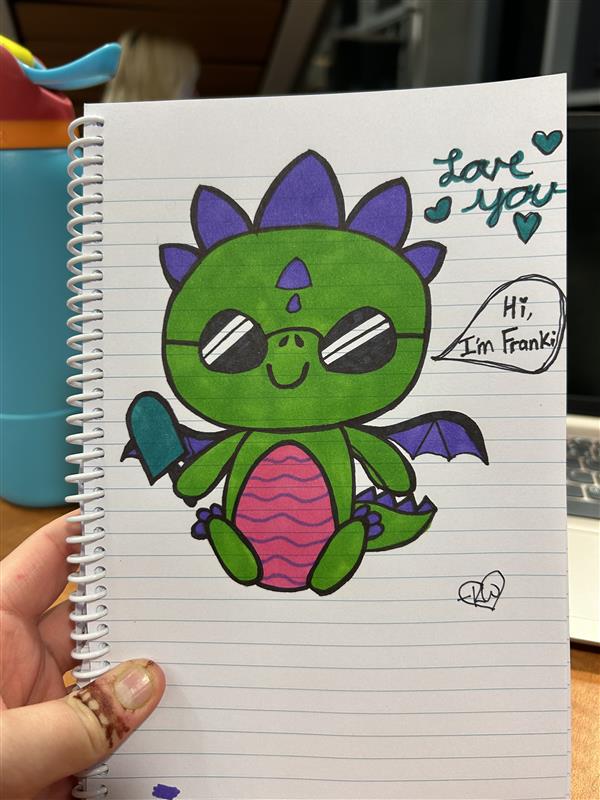
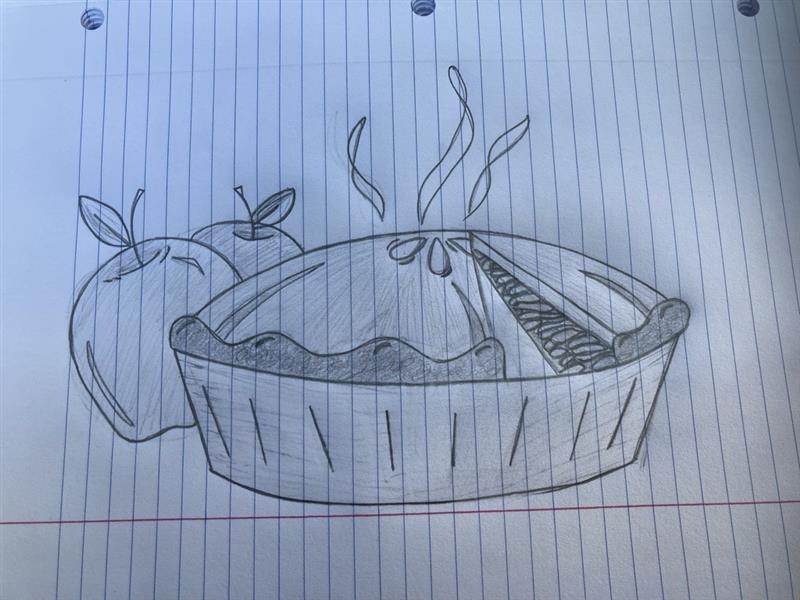
I have known about and used these videos for YEARS. They consist of fantastic step-by-step instructions, with a dad teaching and explaining the steps of how to draw something to one of his kids who is sitting beside him. The directions are very simple and clear, and you get to watch both the dad and the kid draw each step. The videos are perfect for teaching a class because you can pause if your class needs time to catch up, and they are typically 10 minutes or less in length. There are so many different videos that you can find something that interests each student, even your pickiest/most challenging ones. Below, I have added two examples of things that I have drawn from watching ART for Kids Hub.

How To Draw A Funny Summer Dragon – YouTube

I chose this particular video as a demonstration because my mom is a teacher at an elementary school in my hometown, where the mascot is a dragon. Because of this, my mom collects dragons, which I think is really cute and I thought I’d add to it from afar.

~

How To Draw An Apple Pie For Thanksgiving (youtube.com)

Two years ago, I drew this for a teacher back home that I worked with. He was missing my baking, specifically my apple pies. After sending this to him, I could finally claim that I made him the apple pie he wanted.

I will also link the ART for Kids Hub website for you all to check out because it truly is wonderful! I hope you find inspiration to try out an art video for yourself! They are easy, fun, and perfect for all ages!

.

I’m off to draw another picture, and I hope you are too…

-Kristen

“I don’t know what to do” Paintings (#4)

This week, I found myself at multiple fun painting events that my coworkers were holding. At each one, I ended up staring at the canvas and not knowing what to do. I really wanted to participate, but I was at an impasse of not knowing where to go, what colours to choose, or what design/picture to paint. Clearly, I am not the only person to ever have this dilemma, so I wanted to focus this post on what you can do to get that creativity and inspiration back and finally figure out what the heck to paint.

The first technique is pretty simple and that is just to use the technology around you and google simple painting ideas. My technology was my phone and the use of my Pinterest account. I find that Pinterest produces much better results than Google, but Google will work in a pinch if you do not have a Pinterest account. If you are interested in creating a Pinterest account, I highly recommend it because it truly is a fabulous site for all sorts of things, such as artsy ideas, new recipe ideas, and so much more! Anyway, back to what I was saying. Asking Google is always an option, but if you want to go more high-tech than that, you could ask an AI generator to give you ideas. If you are looking for low-tech, you could ask someone sitting around you, but in my experience, their suggestions tend to be above my capability.

A pic of my Pinterest-inspired painting. It is simple because that is all my brain could handle after a LONG day. I might add to it later by adding zentangle-like designs with black Sharpie.

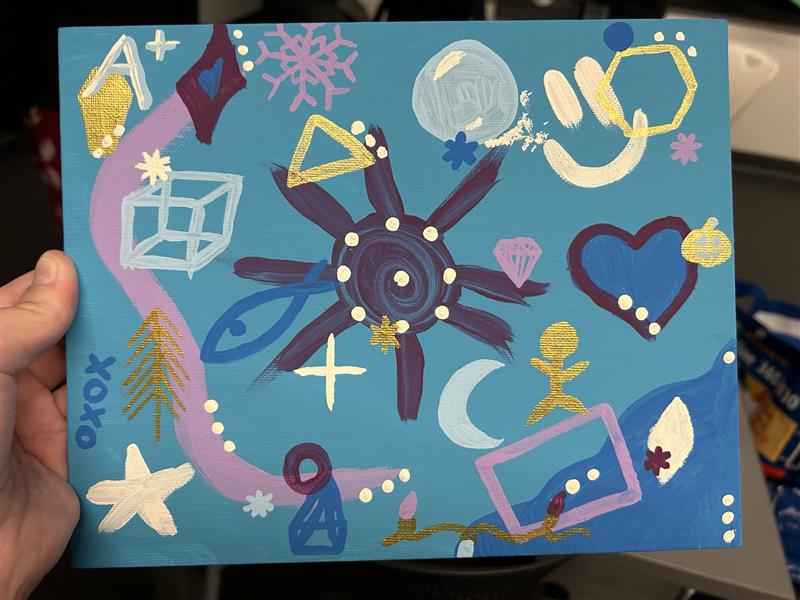
Another way to bulldoze the art/creative block is to simply start painting. With the painting below, I had no idea where to start and the internet had already failed me. I found a few colours I liked -baby blue, light blue, medium blue, dark purple, light purple, white, and gold- and I just started painting the whole canvas the light blue. I made the corner medium blue, and with no more inspiration, I painted the heart and the big sun. I then added dots and the light purple rectangle and the idea had formed. I was going to add random shapes and things chaotically and hope to everything that it turned out ok-ish. I still had a little bit of brain block, so I asked my friends/coworkers for shapes that I could add and, as expected, I got weird math-type shapes that I could barely spell, let alone paint. Eventually, I was able to strongarm enough inspiration to add all the different shapes and colours, which was really enjoyable. By the end, I could look at it and be happy with what I created and proud of my victorious win against art block. The moral of the story is that sometimes you just have to start and force creativity rather than waiting for it to come to you. Eventually, an idea will come, and from there, you are set!

This type of painting can also be done with students where they choose their own colours and shapes and design their very own EYE SPY painting/game.

Eye spy a fish…

.

Thanks for joining me on this artsy fartsy adventure,

-Kristen

The Art of Cake Decorating (#3)

For this week, I have chosen a form of art that some might contest as being art.

Cake decorating is, in my humble opinion, definitely an art form because although it seems simple, it is far more challenging than expected. An example of this is hyper-realistic cakes. Baking can also be considered an art form as it takes precision and practice.

For this mini-project, I decided to decorate two mini-cakes, one in a heart shape and one in a square shape. I am using the recipe AI suggested in my Topic 4 post, which is a lemon blueberry cake with lemon cream cheese icing. My plan going in is to do the old-style lace icing for the heart-shaped cake and the modern minimal icing and fruit for the square cake. I am writing this aspect before attempting to create this, so by the end of the post, we shall see how well it goes.

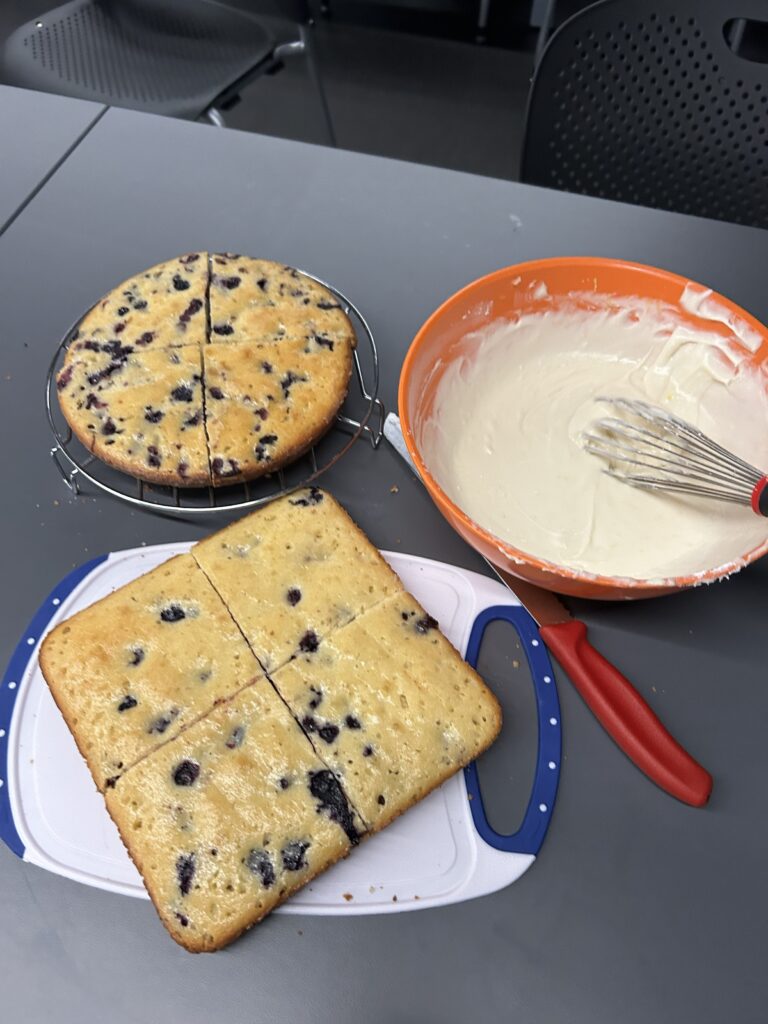
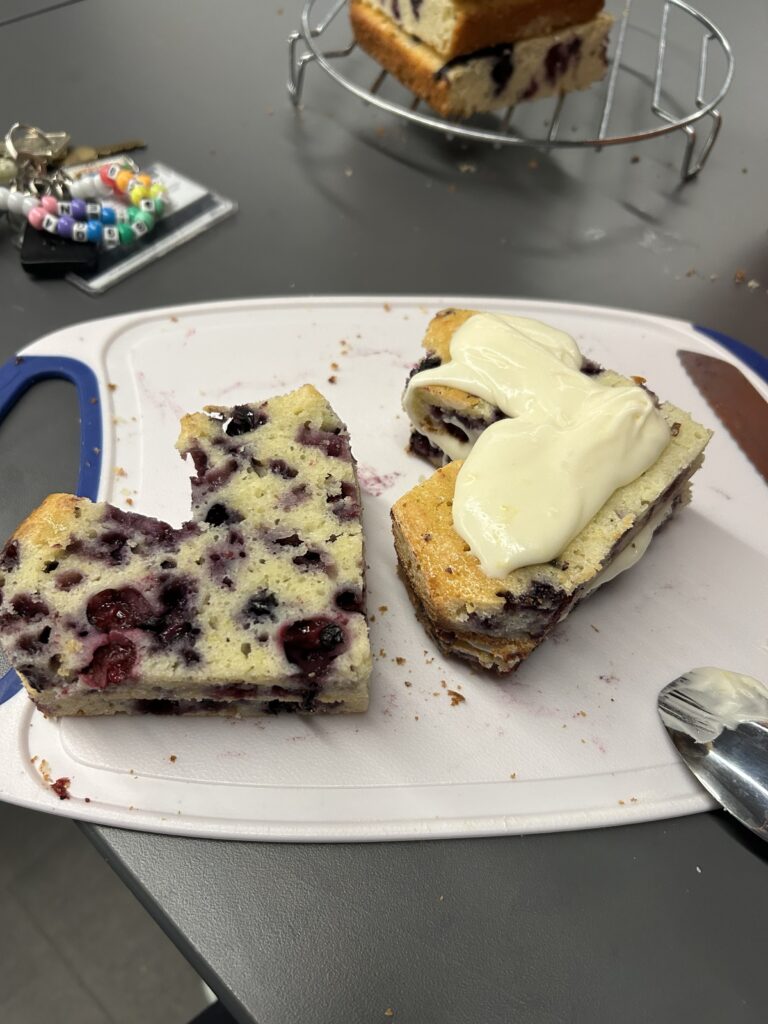
I started by baking the cakes according to the recipe (mostly), with one in a square shape for the square cake and one in a circle shape to make the heart. I made the icing next as the cakes were cooking (the icing was to die for). Then, after letting them cool, I cut each cake into four pieces.

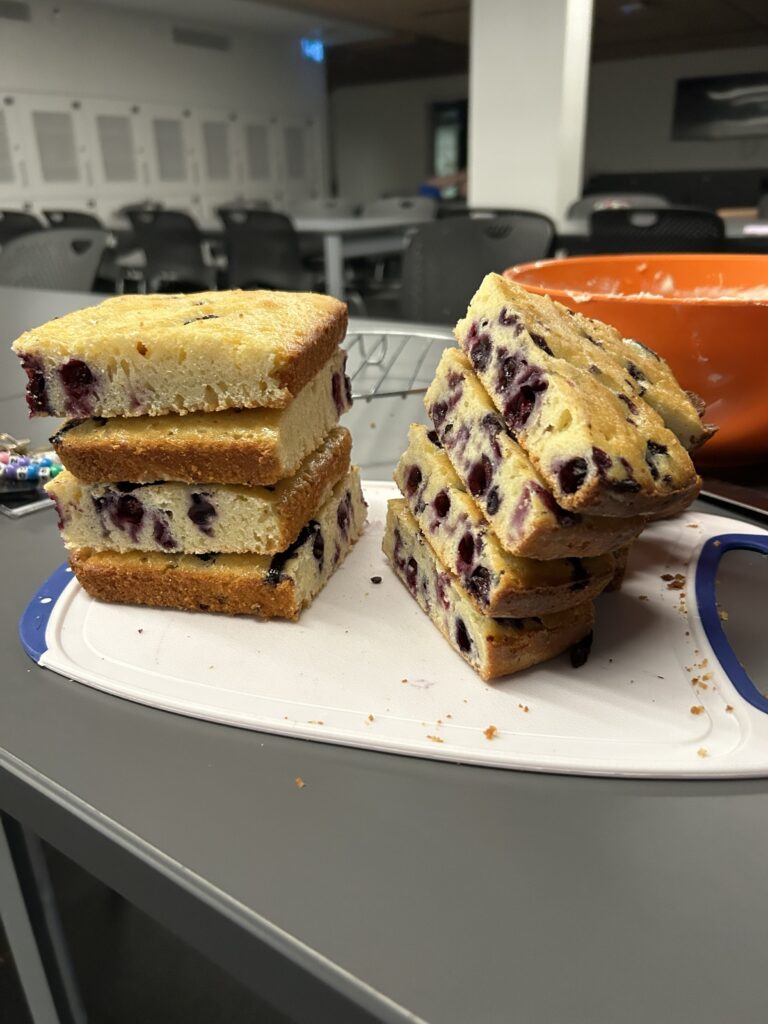
I stacked the cake pieces to see if they were going to be the right height, and they were, but this is also where I ran into my first speed bump. As you can see in the picture, the round cake pieces do not stack well because they are thicker in the middle than on the edge, making it tilt more than the Leaning Tower of Pisa. To combat this I ended up slicing the domed parts of the cake before stacking.

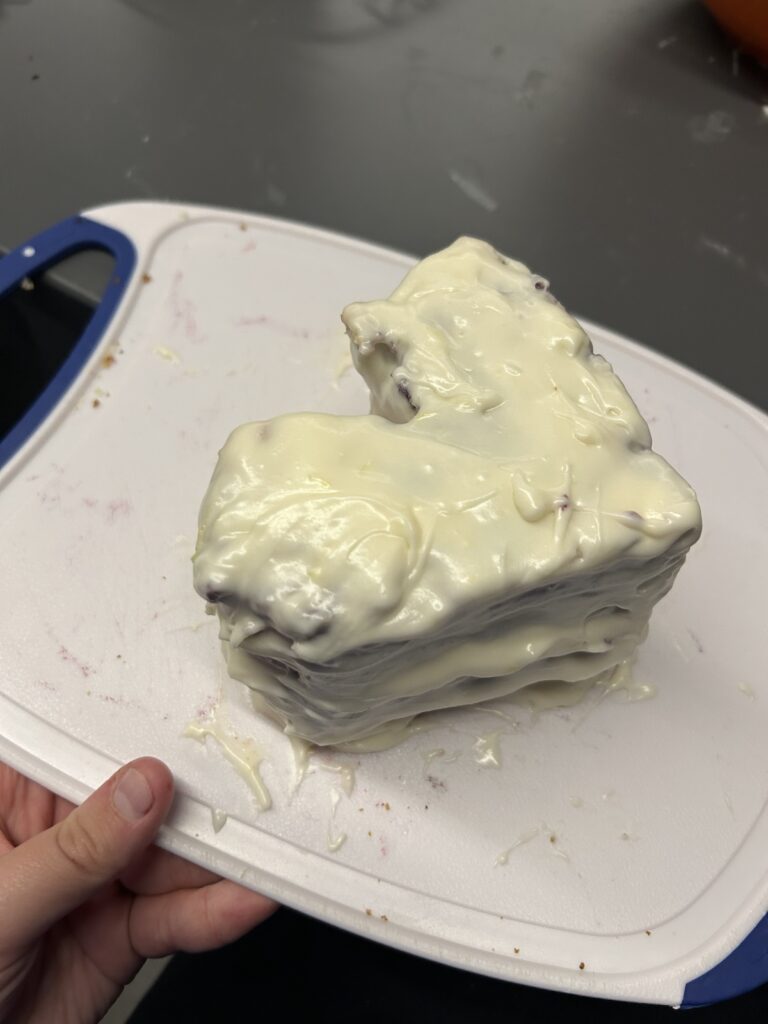
I also cut triangles out of the top of the round pieces to make the heart shape. I then used the icing I made to put in between the cake layers. This is where speed bump number two comes in. Unfortunately, the weight of the cake layers and the softness of the icing meant the icing got squeezed out from between the layers despite my persistence to get it to stay.

Eventually, I gave up on the icing between the layers issue and just tried to get the entire heart iced. This was significantly harder than anticipated because the icing was runnier than it needed to be for what I was doing. I did get the heart cake iced, although it did not look very visually appealing. Speed bump number three came when I tried to create the lace detail for the heart cake, but once again, the icing was way too soft. Every time I tried to make little bumps, it would just droop down the cake.

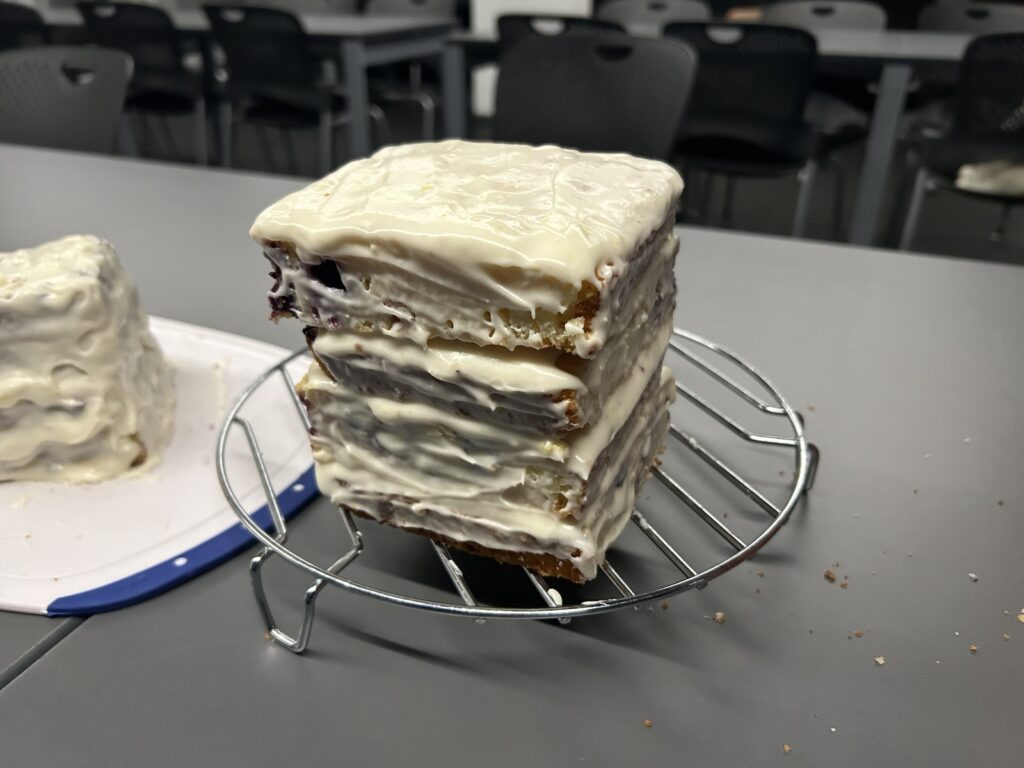
Since I was at my wit’s end with the heart cake, I moved on to the square cake, where I once again ran into the icing being too soft between the layers. It was ok, though, because I was able to use the droopy icing to get the smear look I was going for on the sides, sort of.

I did end up covering the sides of the square cake with more icing, however, because I had a lot of it leftover from not doing the lace on the heart cake, and I personally prefer to eat cake with a strong ratio of cake to icing.

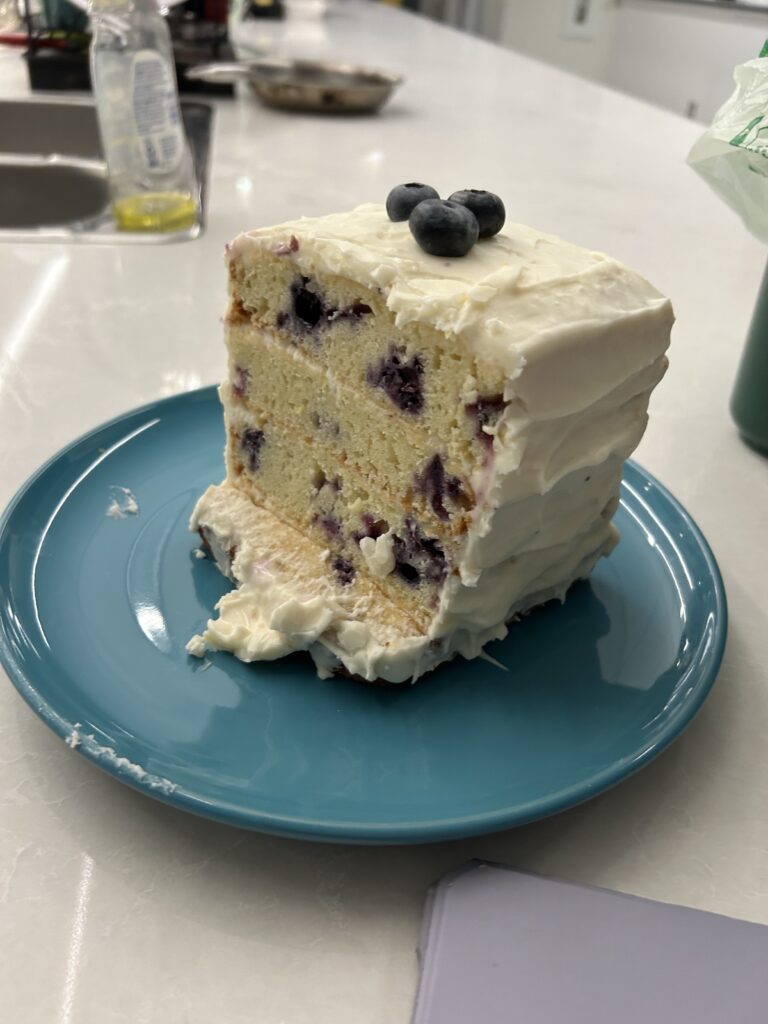
The picture to the right is of the square cake the day after I finished icing it when I was able to cut it and share it with some friends.

All in all, this was a fun way to explore the art of cake decorating, even though it absolutely did not go as smoothly as I had planned. This made me appreciate cake artists SO much more because although it was fun to do, the struggle was real. It takes so much practice and talent to pull off the gorgeous cakes that professional bakers do, and I believe their type of art should get more recognition than it does.

I would like to report that I was told by a few friends that even though the cakes may not have been lookers, they tasted delicious, which I am super happy about. I will also add, and maybe boast, that the lemon cream cheese icing recipe that I used is something both my coworker and I would eat by the spoonful; it was so good!

It was a really neat experience to use AI to find a new recipe, and because it worked out so well, I think I might use this technique in the future when I want to try something new! Maybe AI and technology are better than I thought and more versatile after all.

All is well that bakes well,

-Kristen

Perspective drawings (#2)

For my first mini-project in my Free Inquiry of ARTS, I have chosen to do a new activity that I learned in my Link2Practice classroom. This activity is called “Perspective Drawings,” and it is very simple to set up and run, but the impact and potential for cross-curricular usage is vast.

The first step of this activity is to find a class of willing students, or in my case, a group of minorly coerced friends to participate. Next, you hand out the supplies, which are a piece of paper and any writing/drawing/colouring utensils that each person wants. You then explain the rules (or lack thereof) for the activity. Once everyone has their supplies, the instructor will read out the first prompt and each person is given time to draw a picture corresponding to the prompt. There are no guidelines for how it has to look, what sizing, the use of colour, or any context clues. It is simply whatever the person thinks of when they hear the prompt. After everyone is finished drawing, the group takes turns showing their drawings and looking at each other’s. This can be repeated for as many prompts you want to use. If you are not so great at thinking of prompts on your own you can google ‘one word drawing prompts and many websites will come up (like the one I have linked) that can give you inspo.

100 One-Word Drawing Prompts • Art Makes People

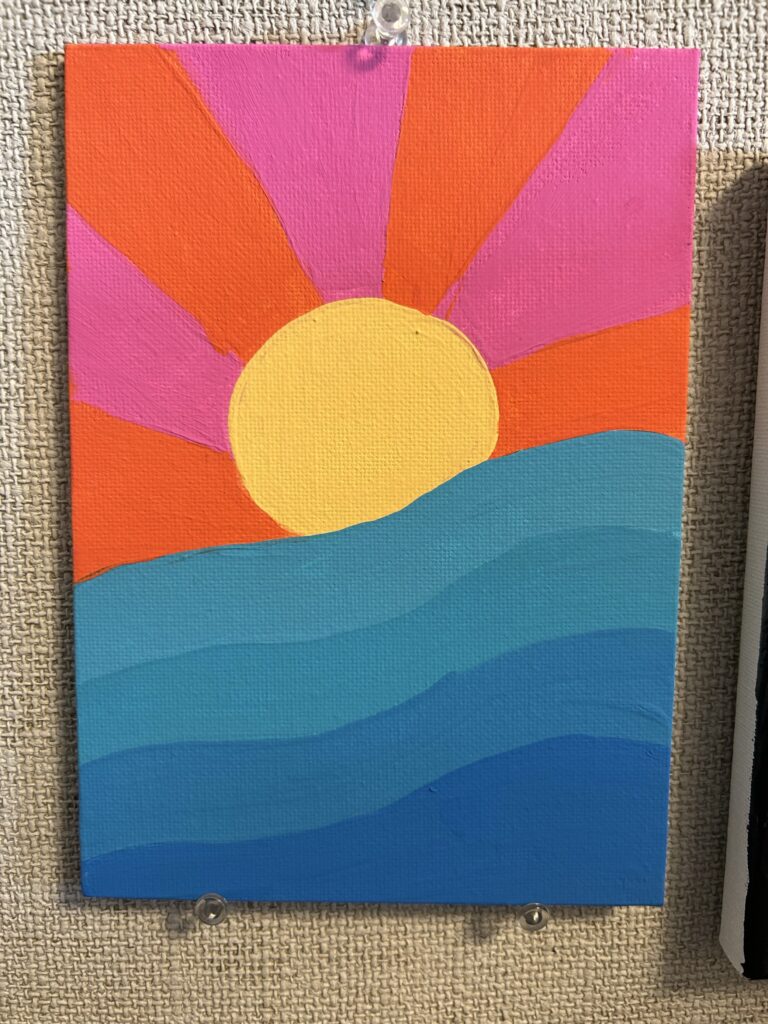
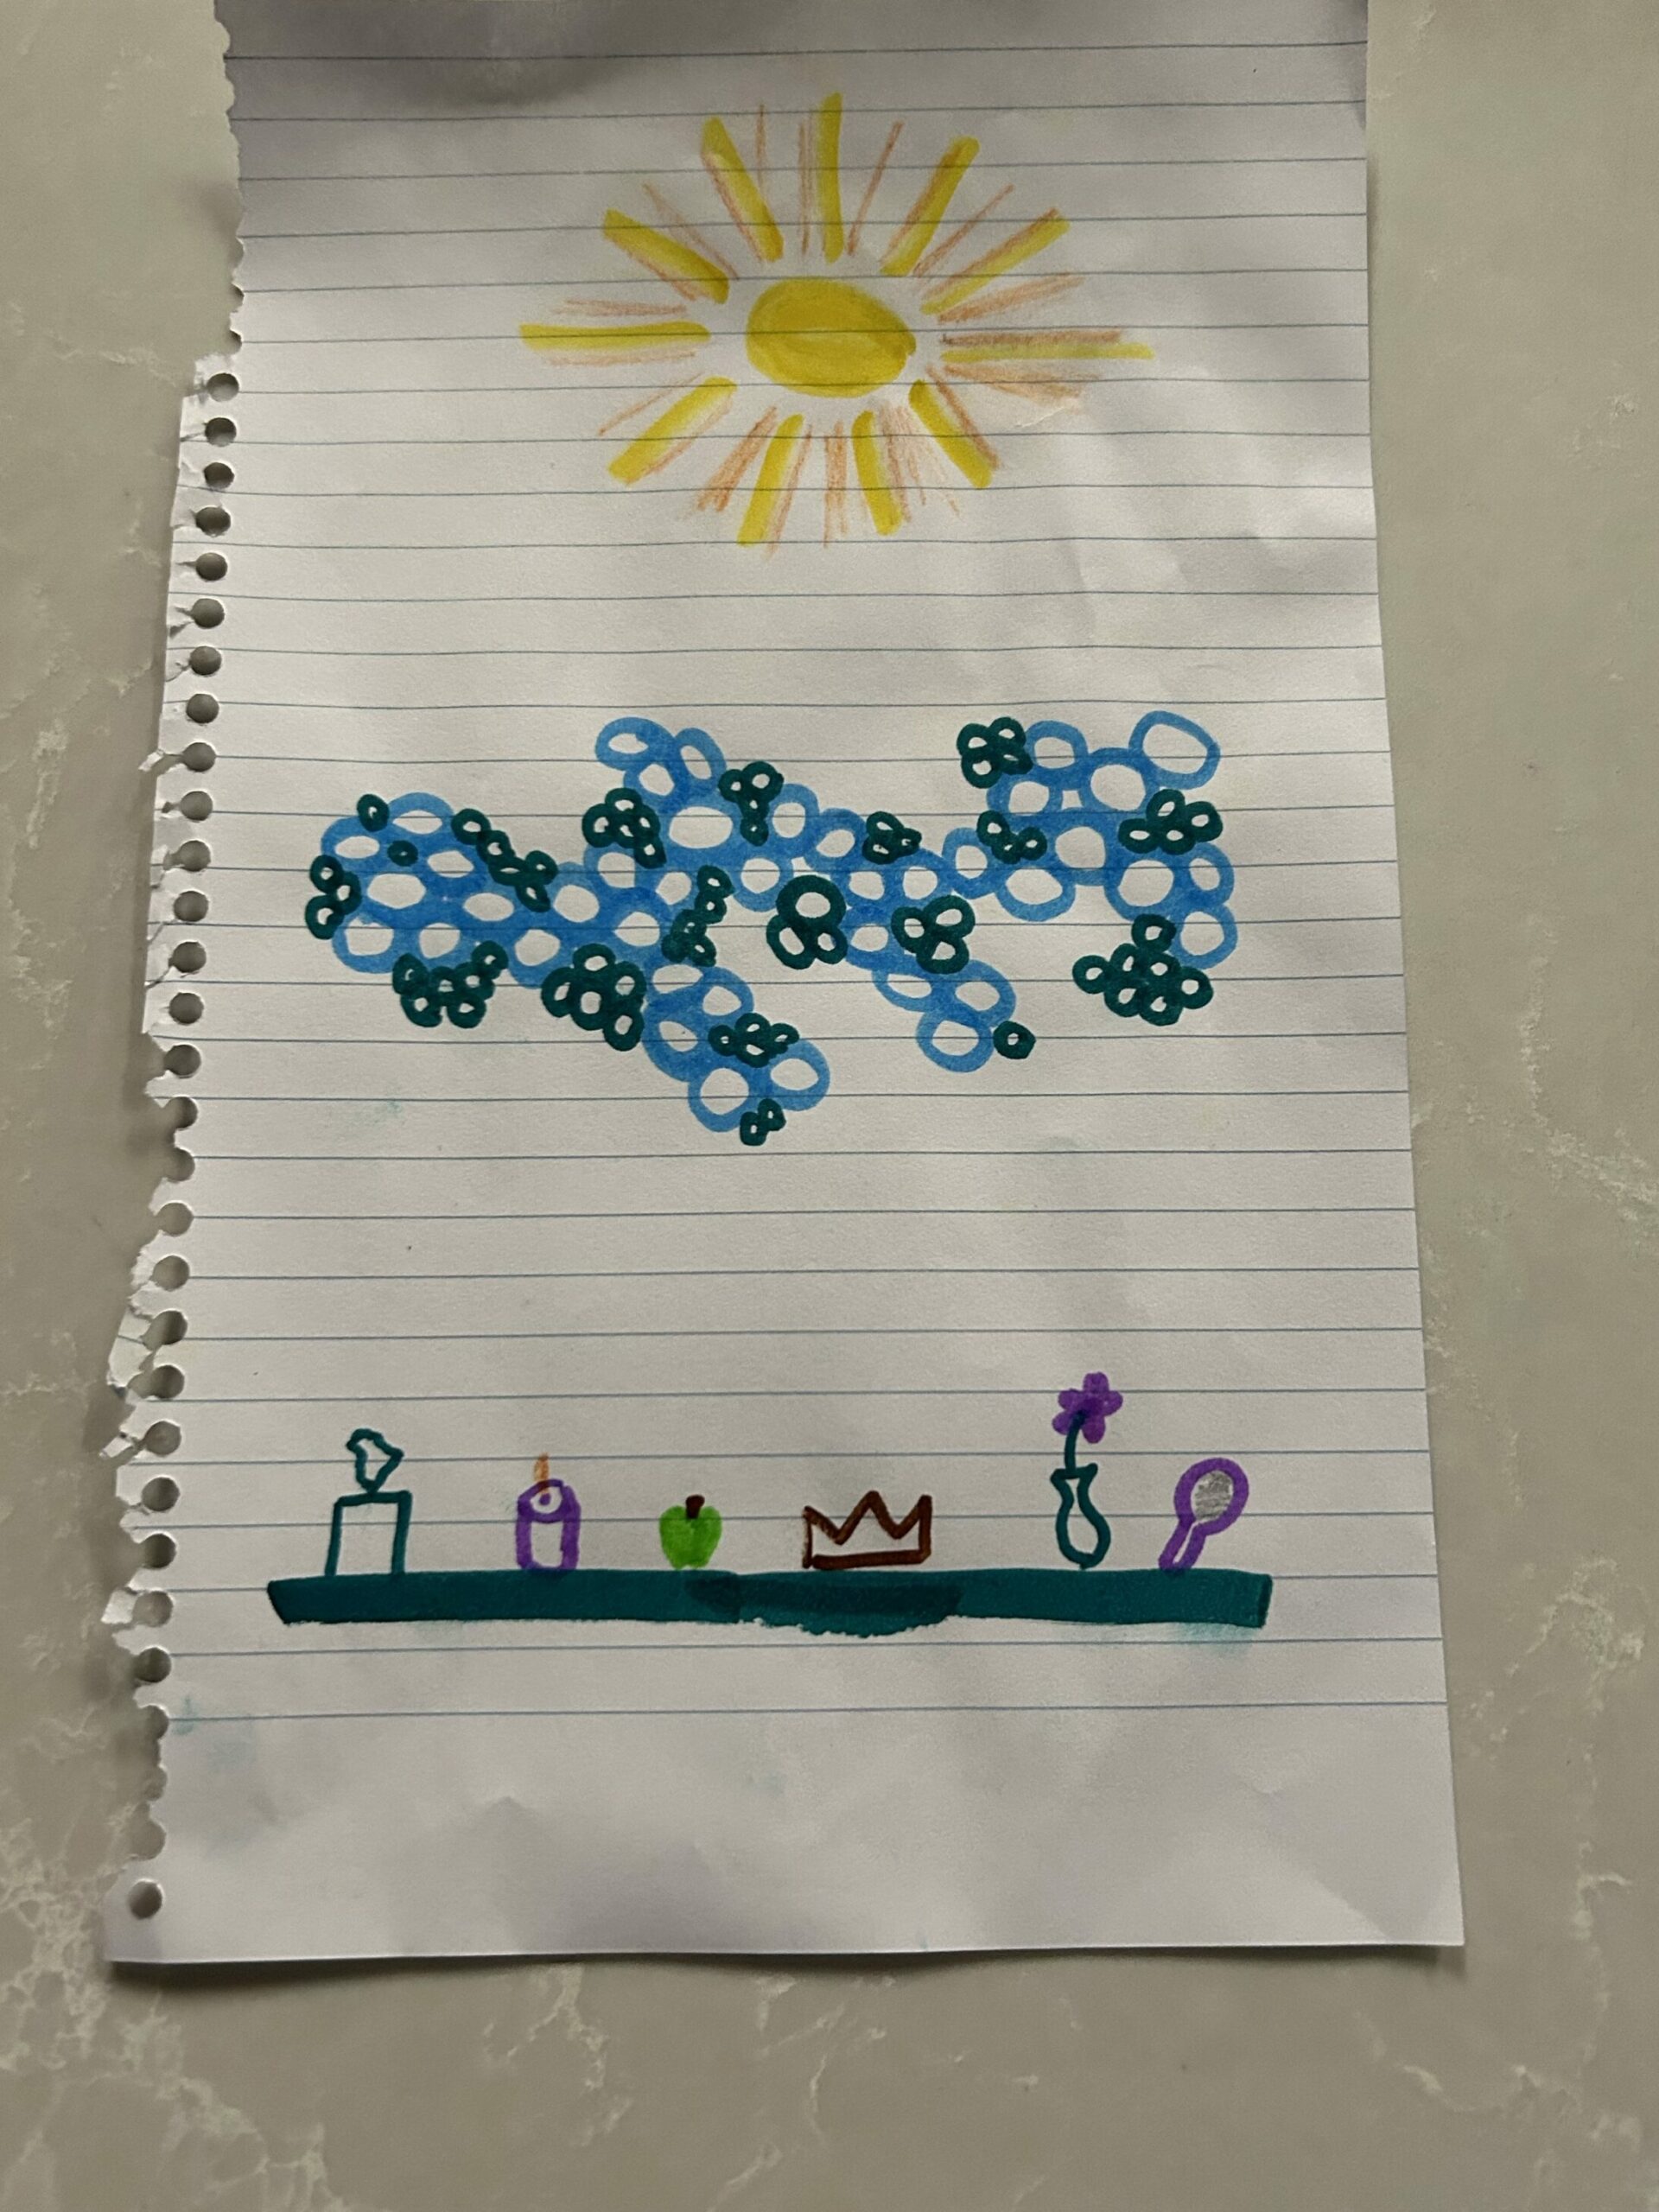
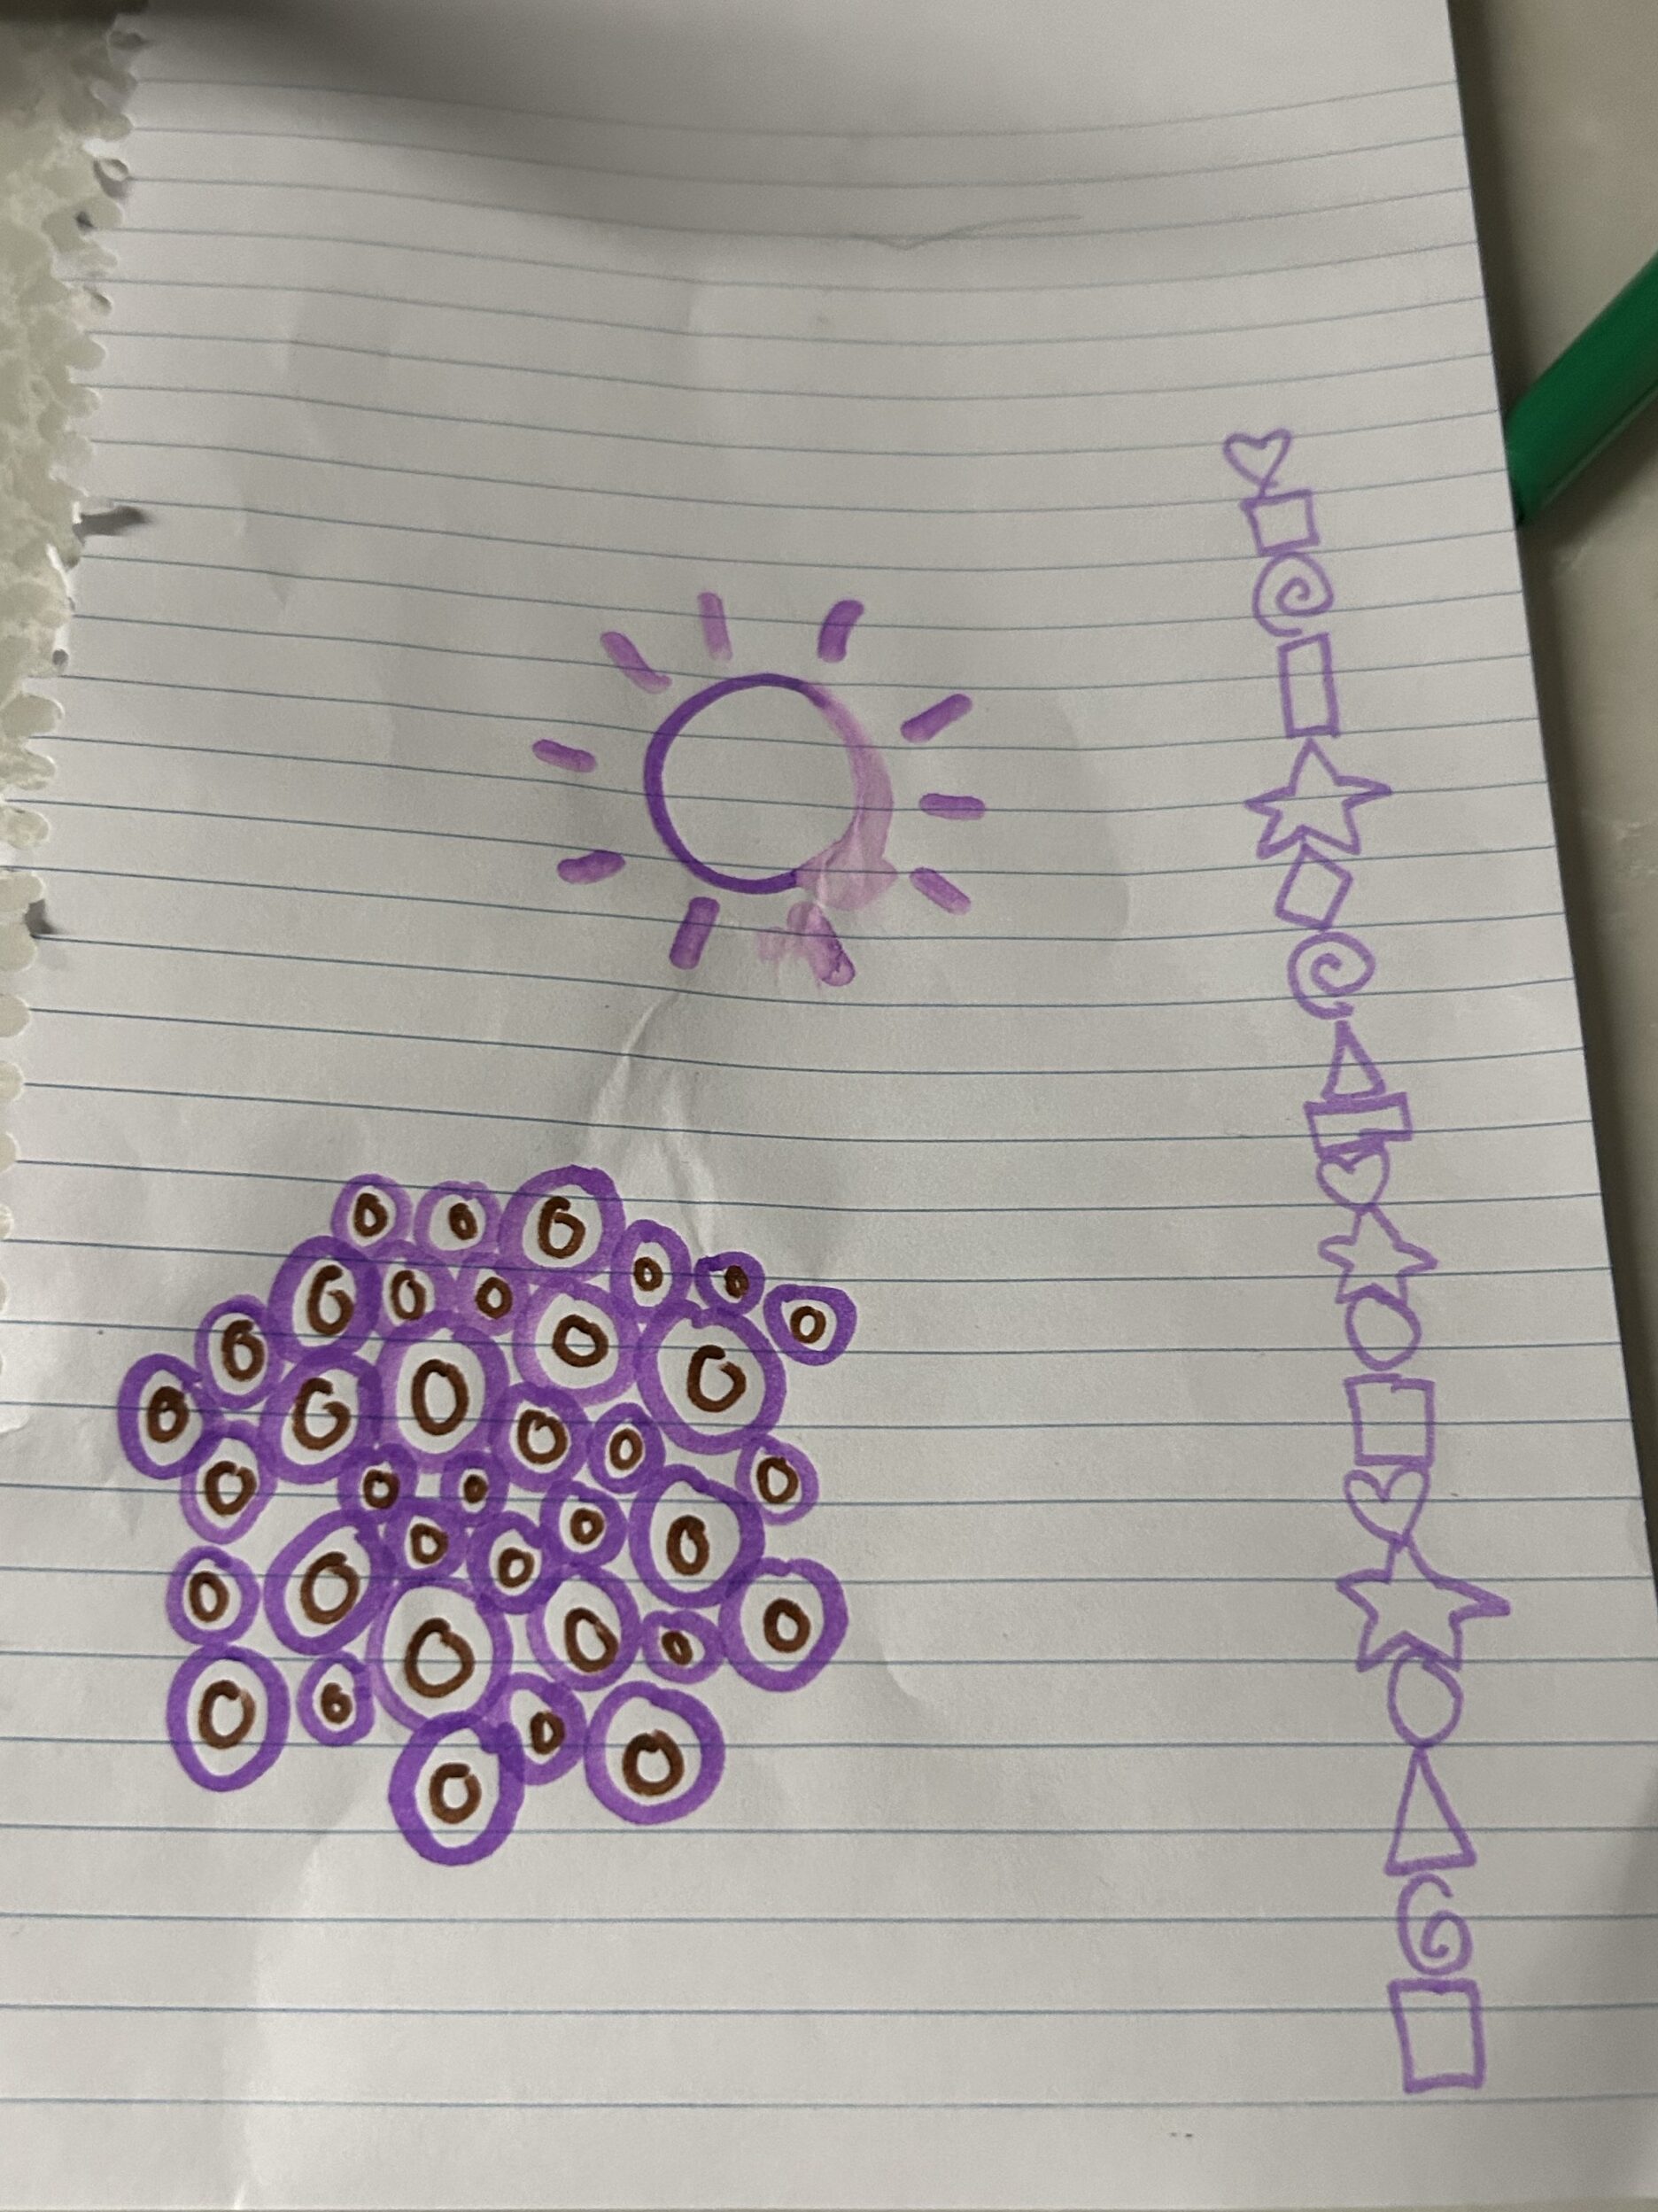
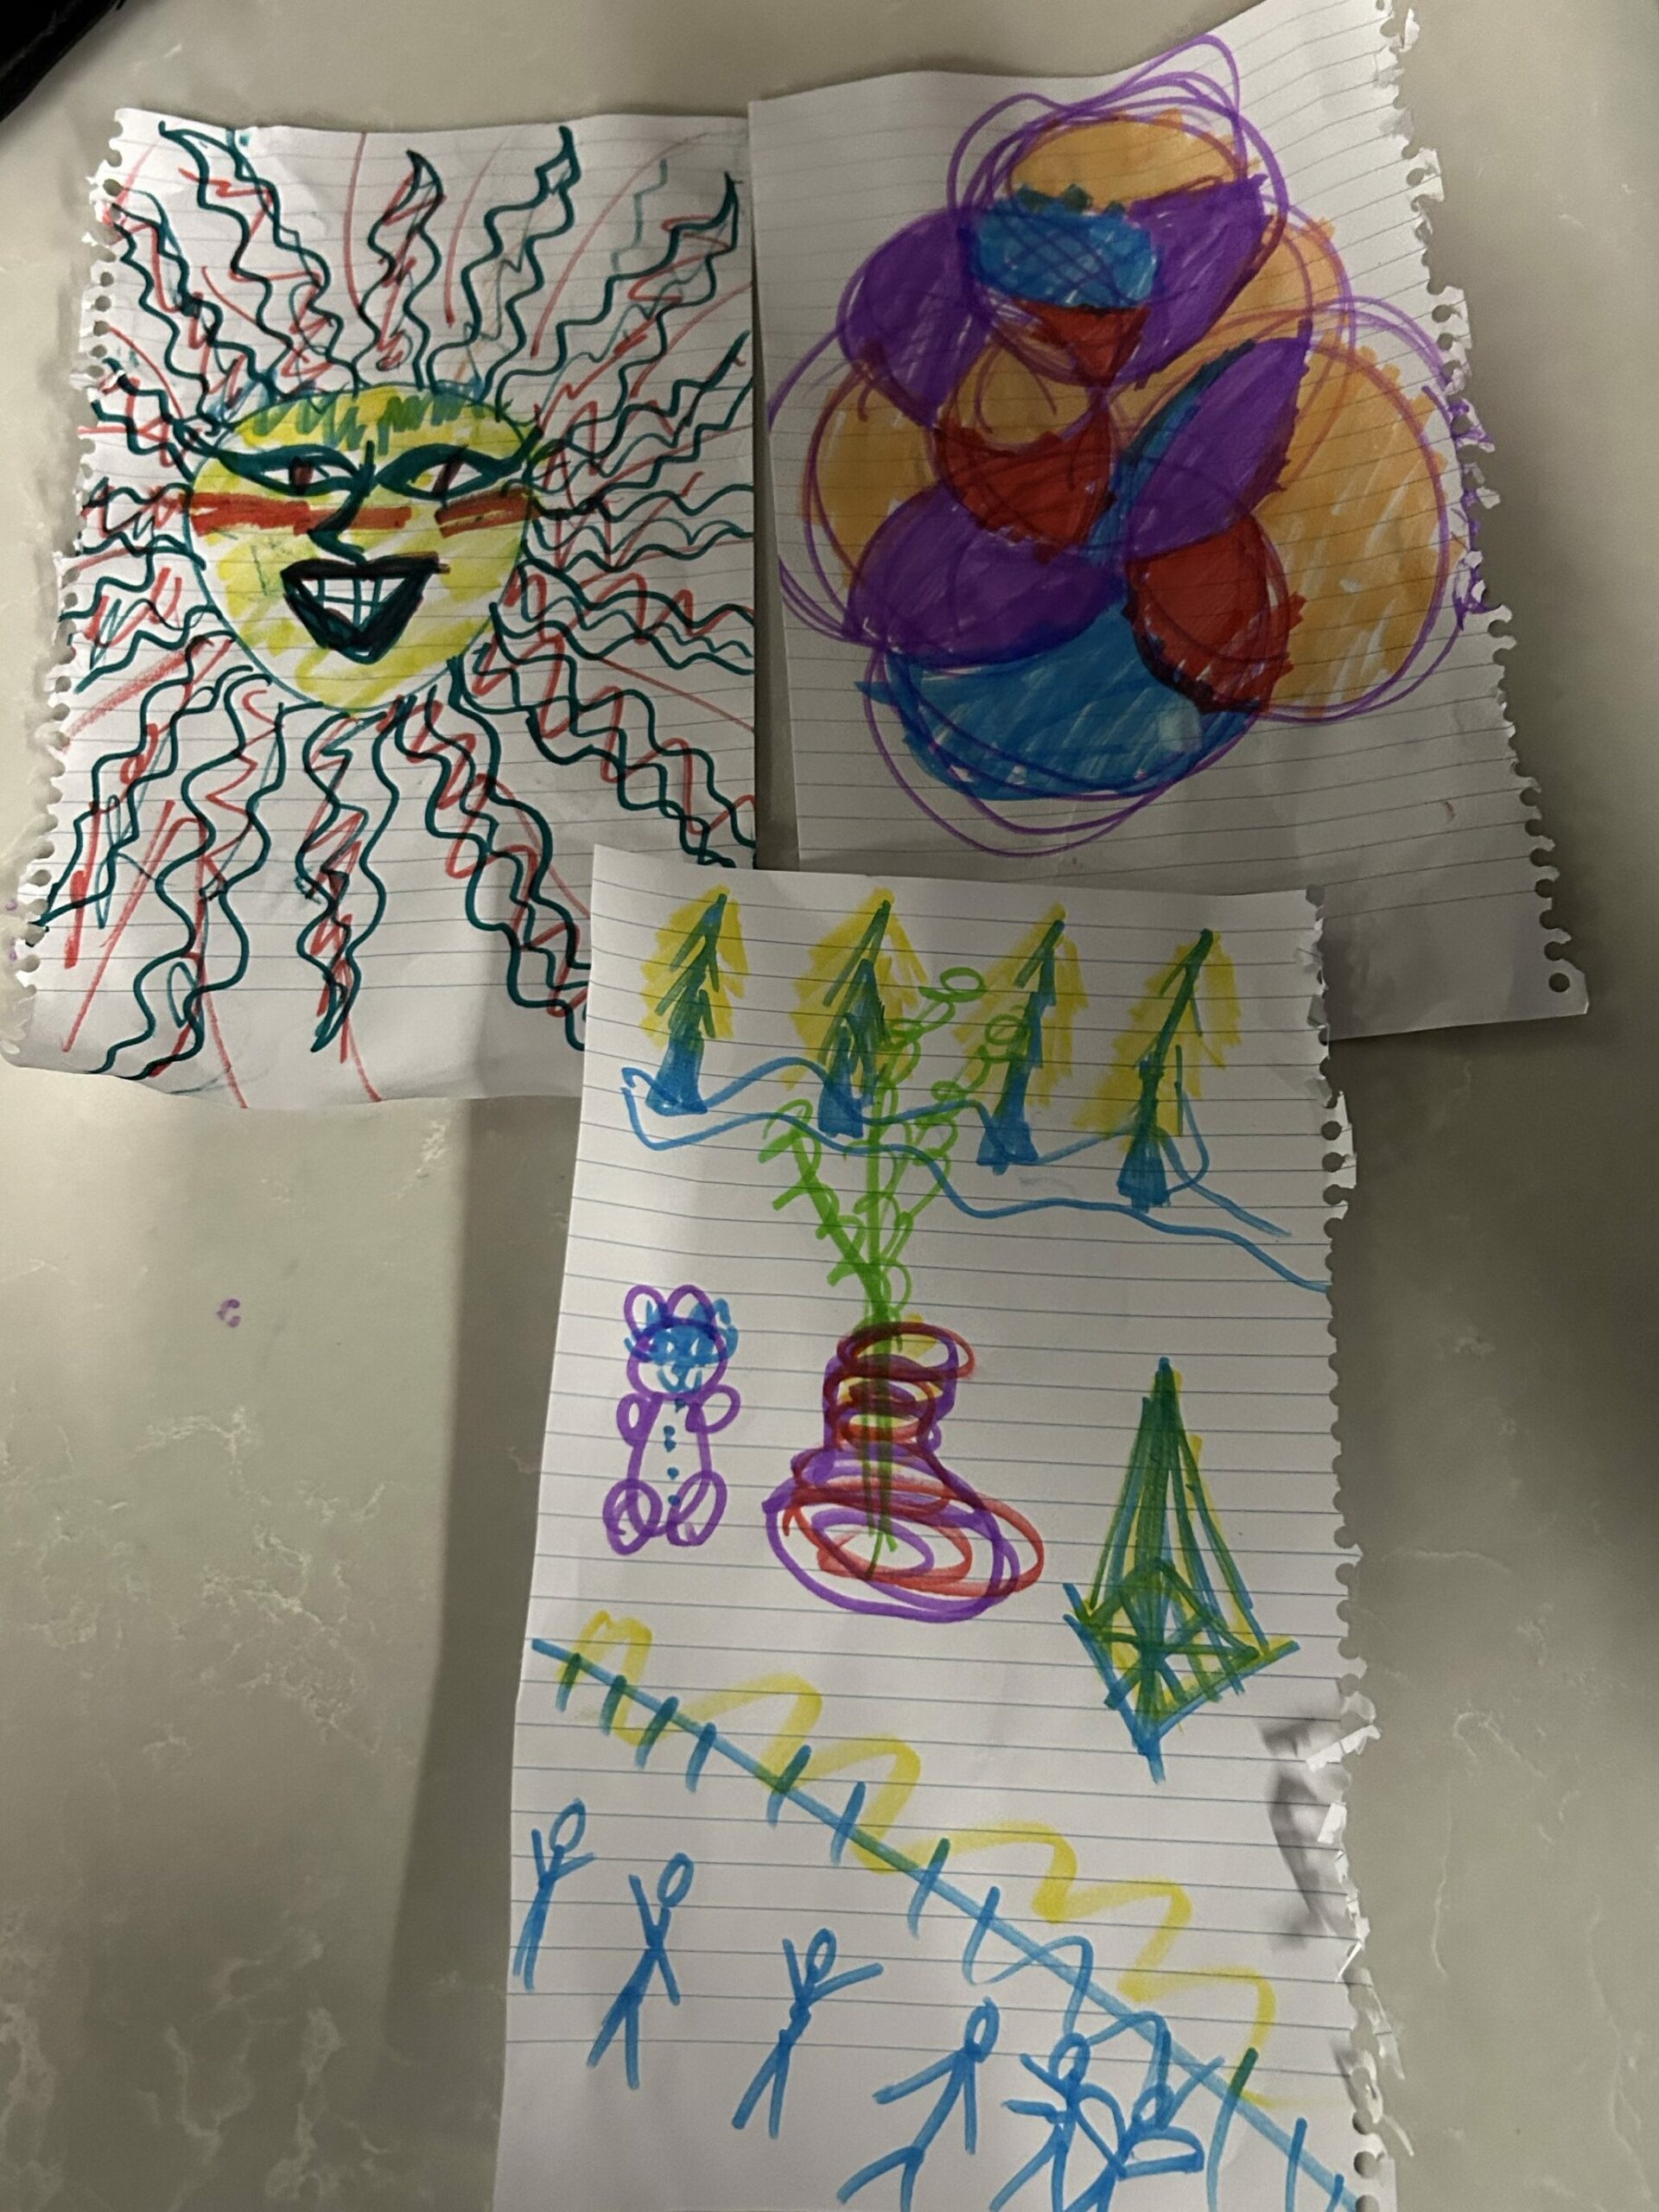
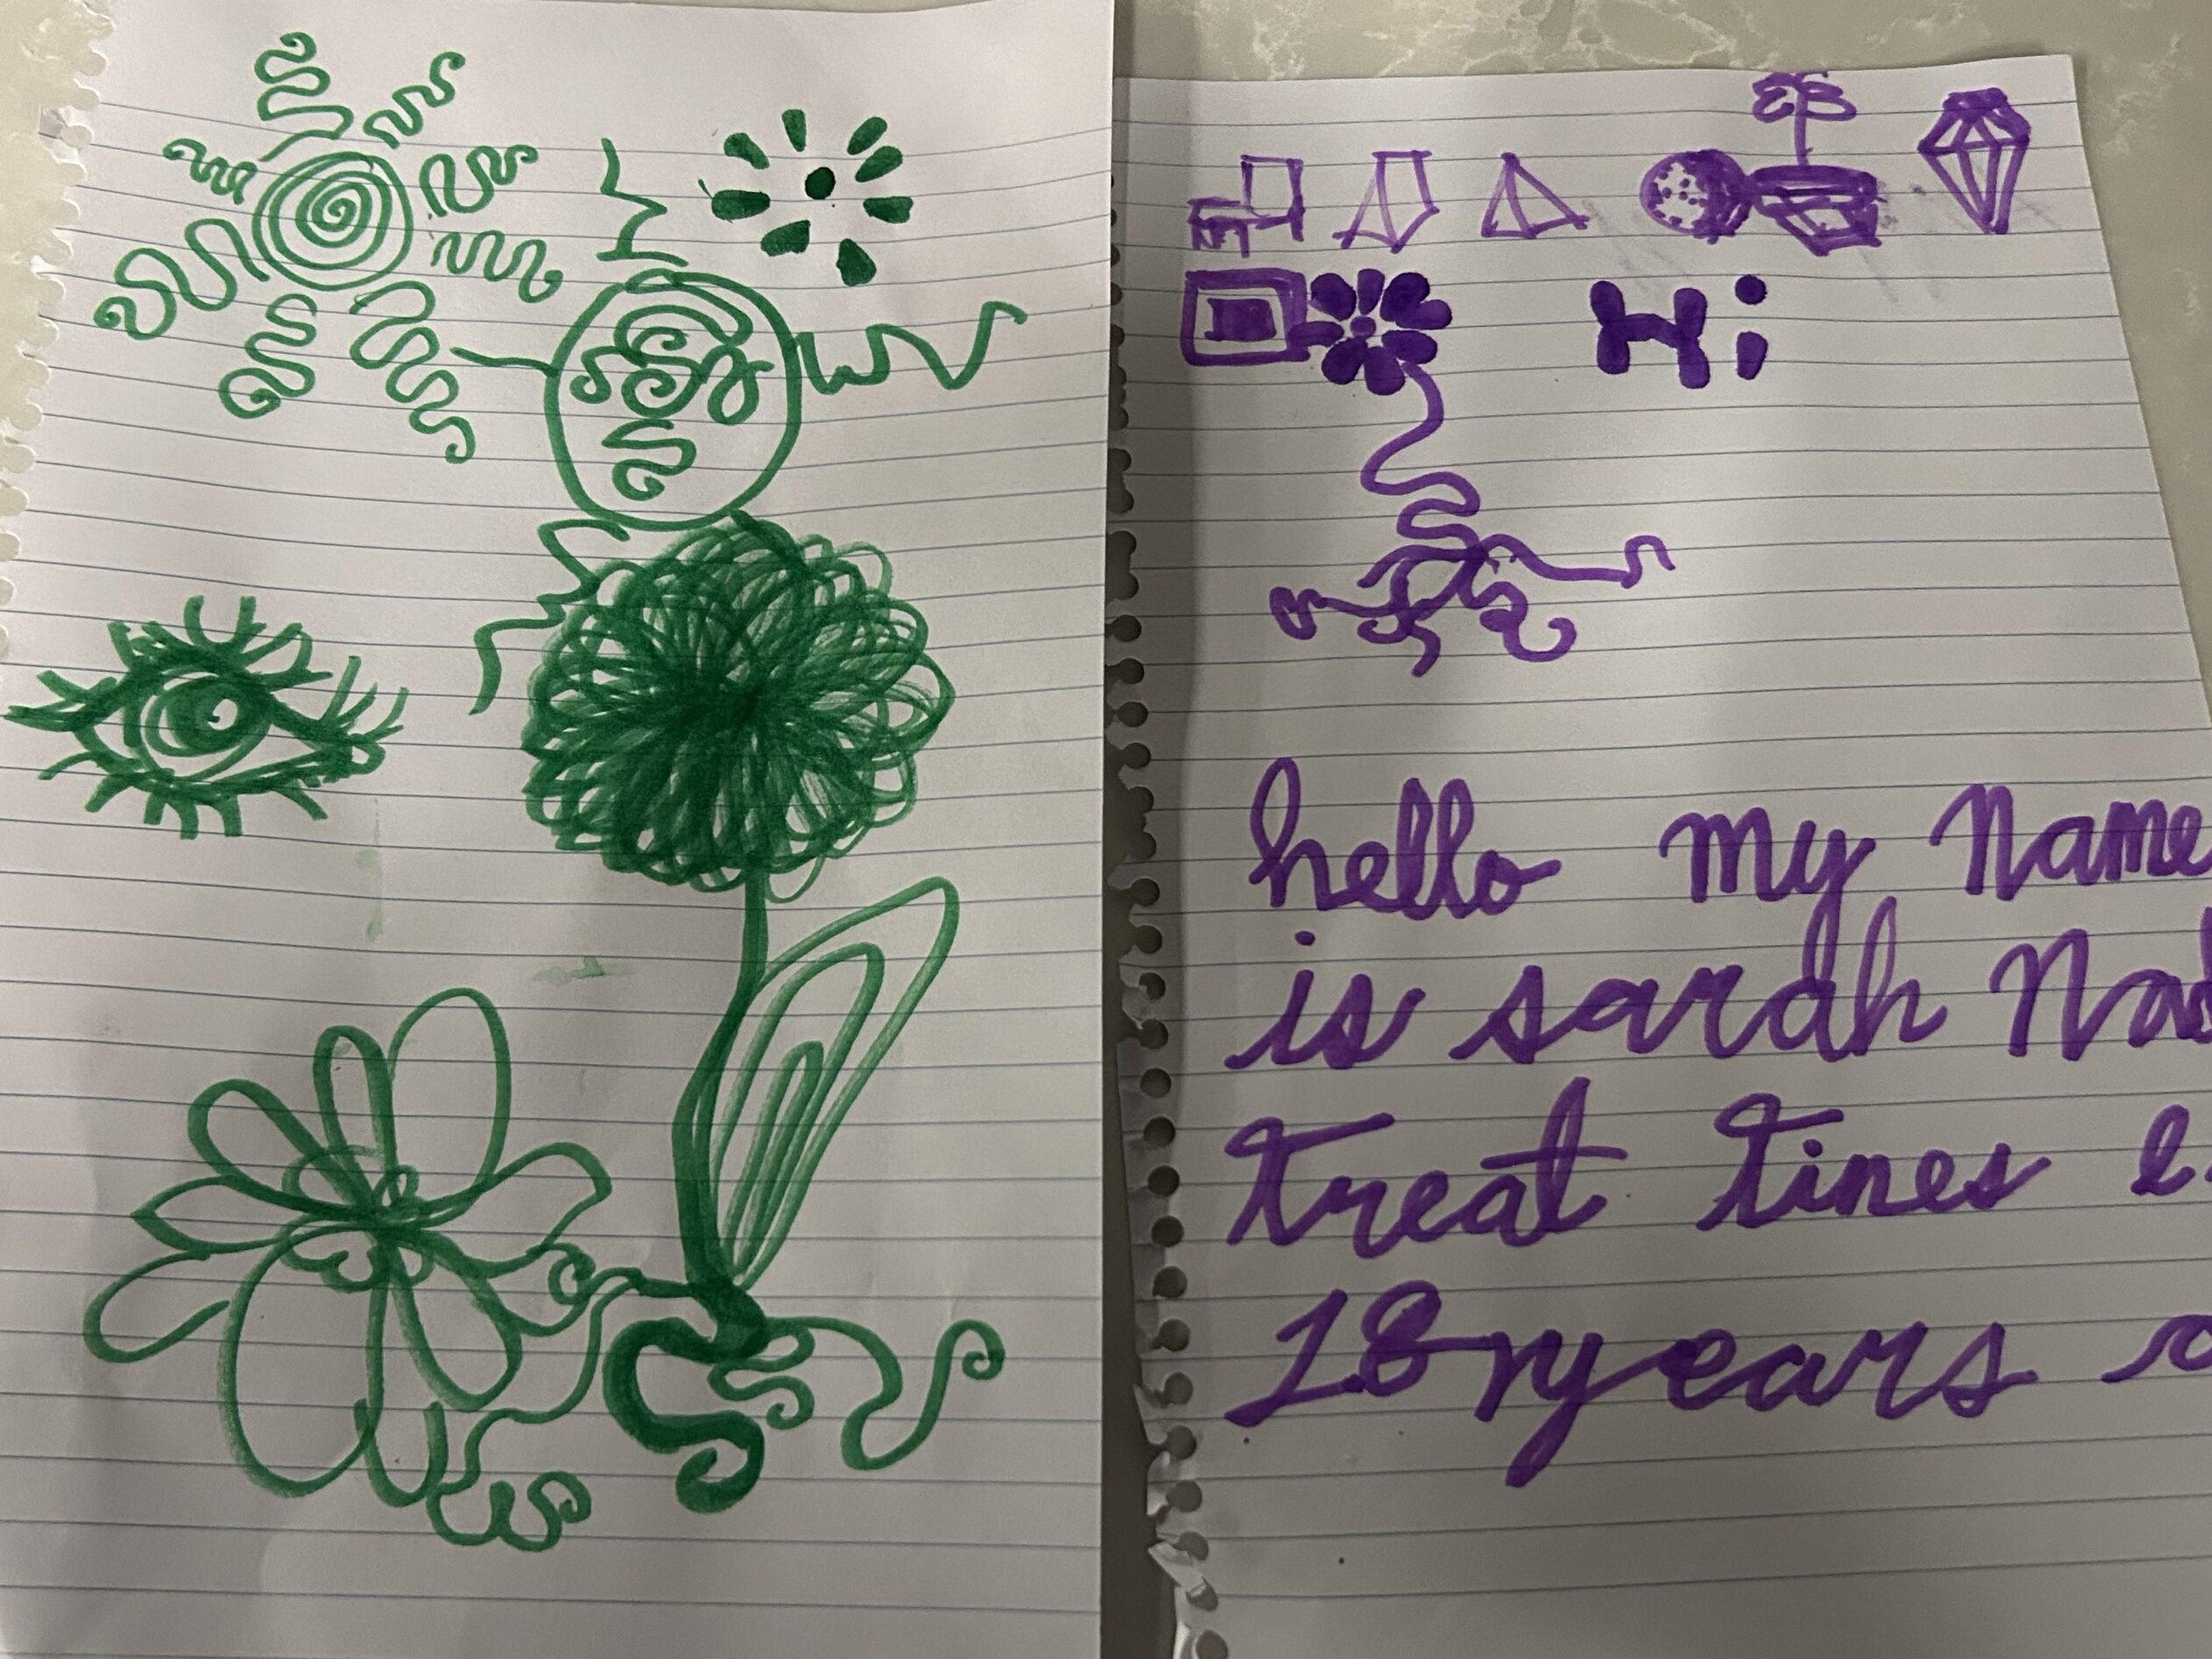
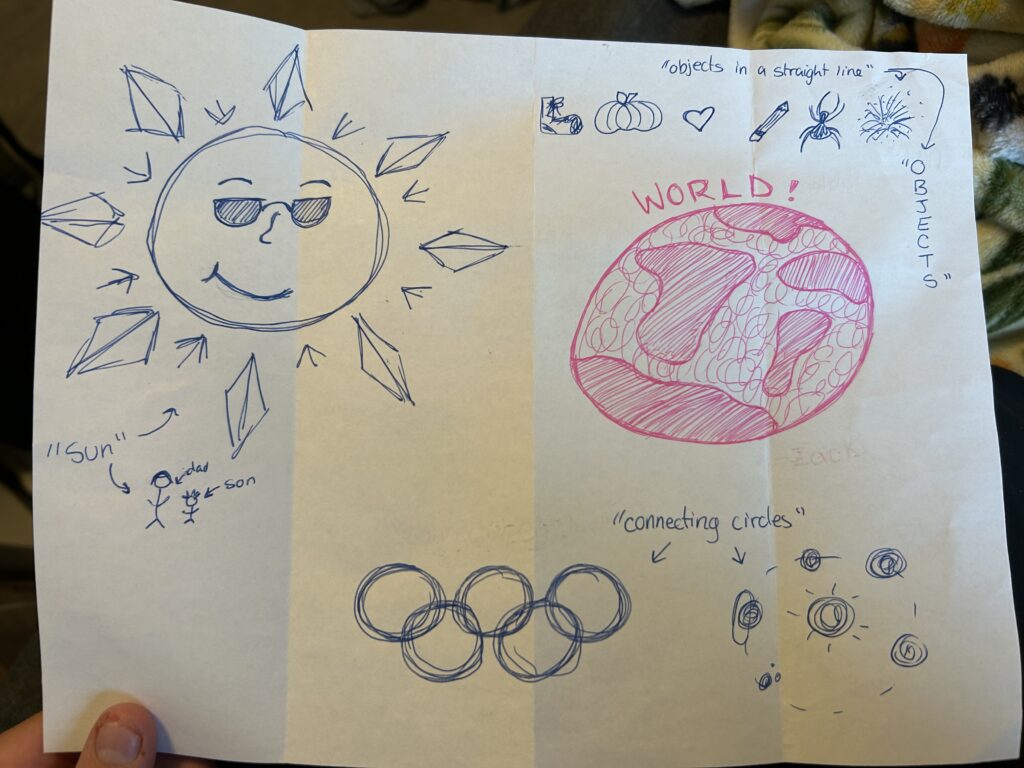
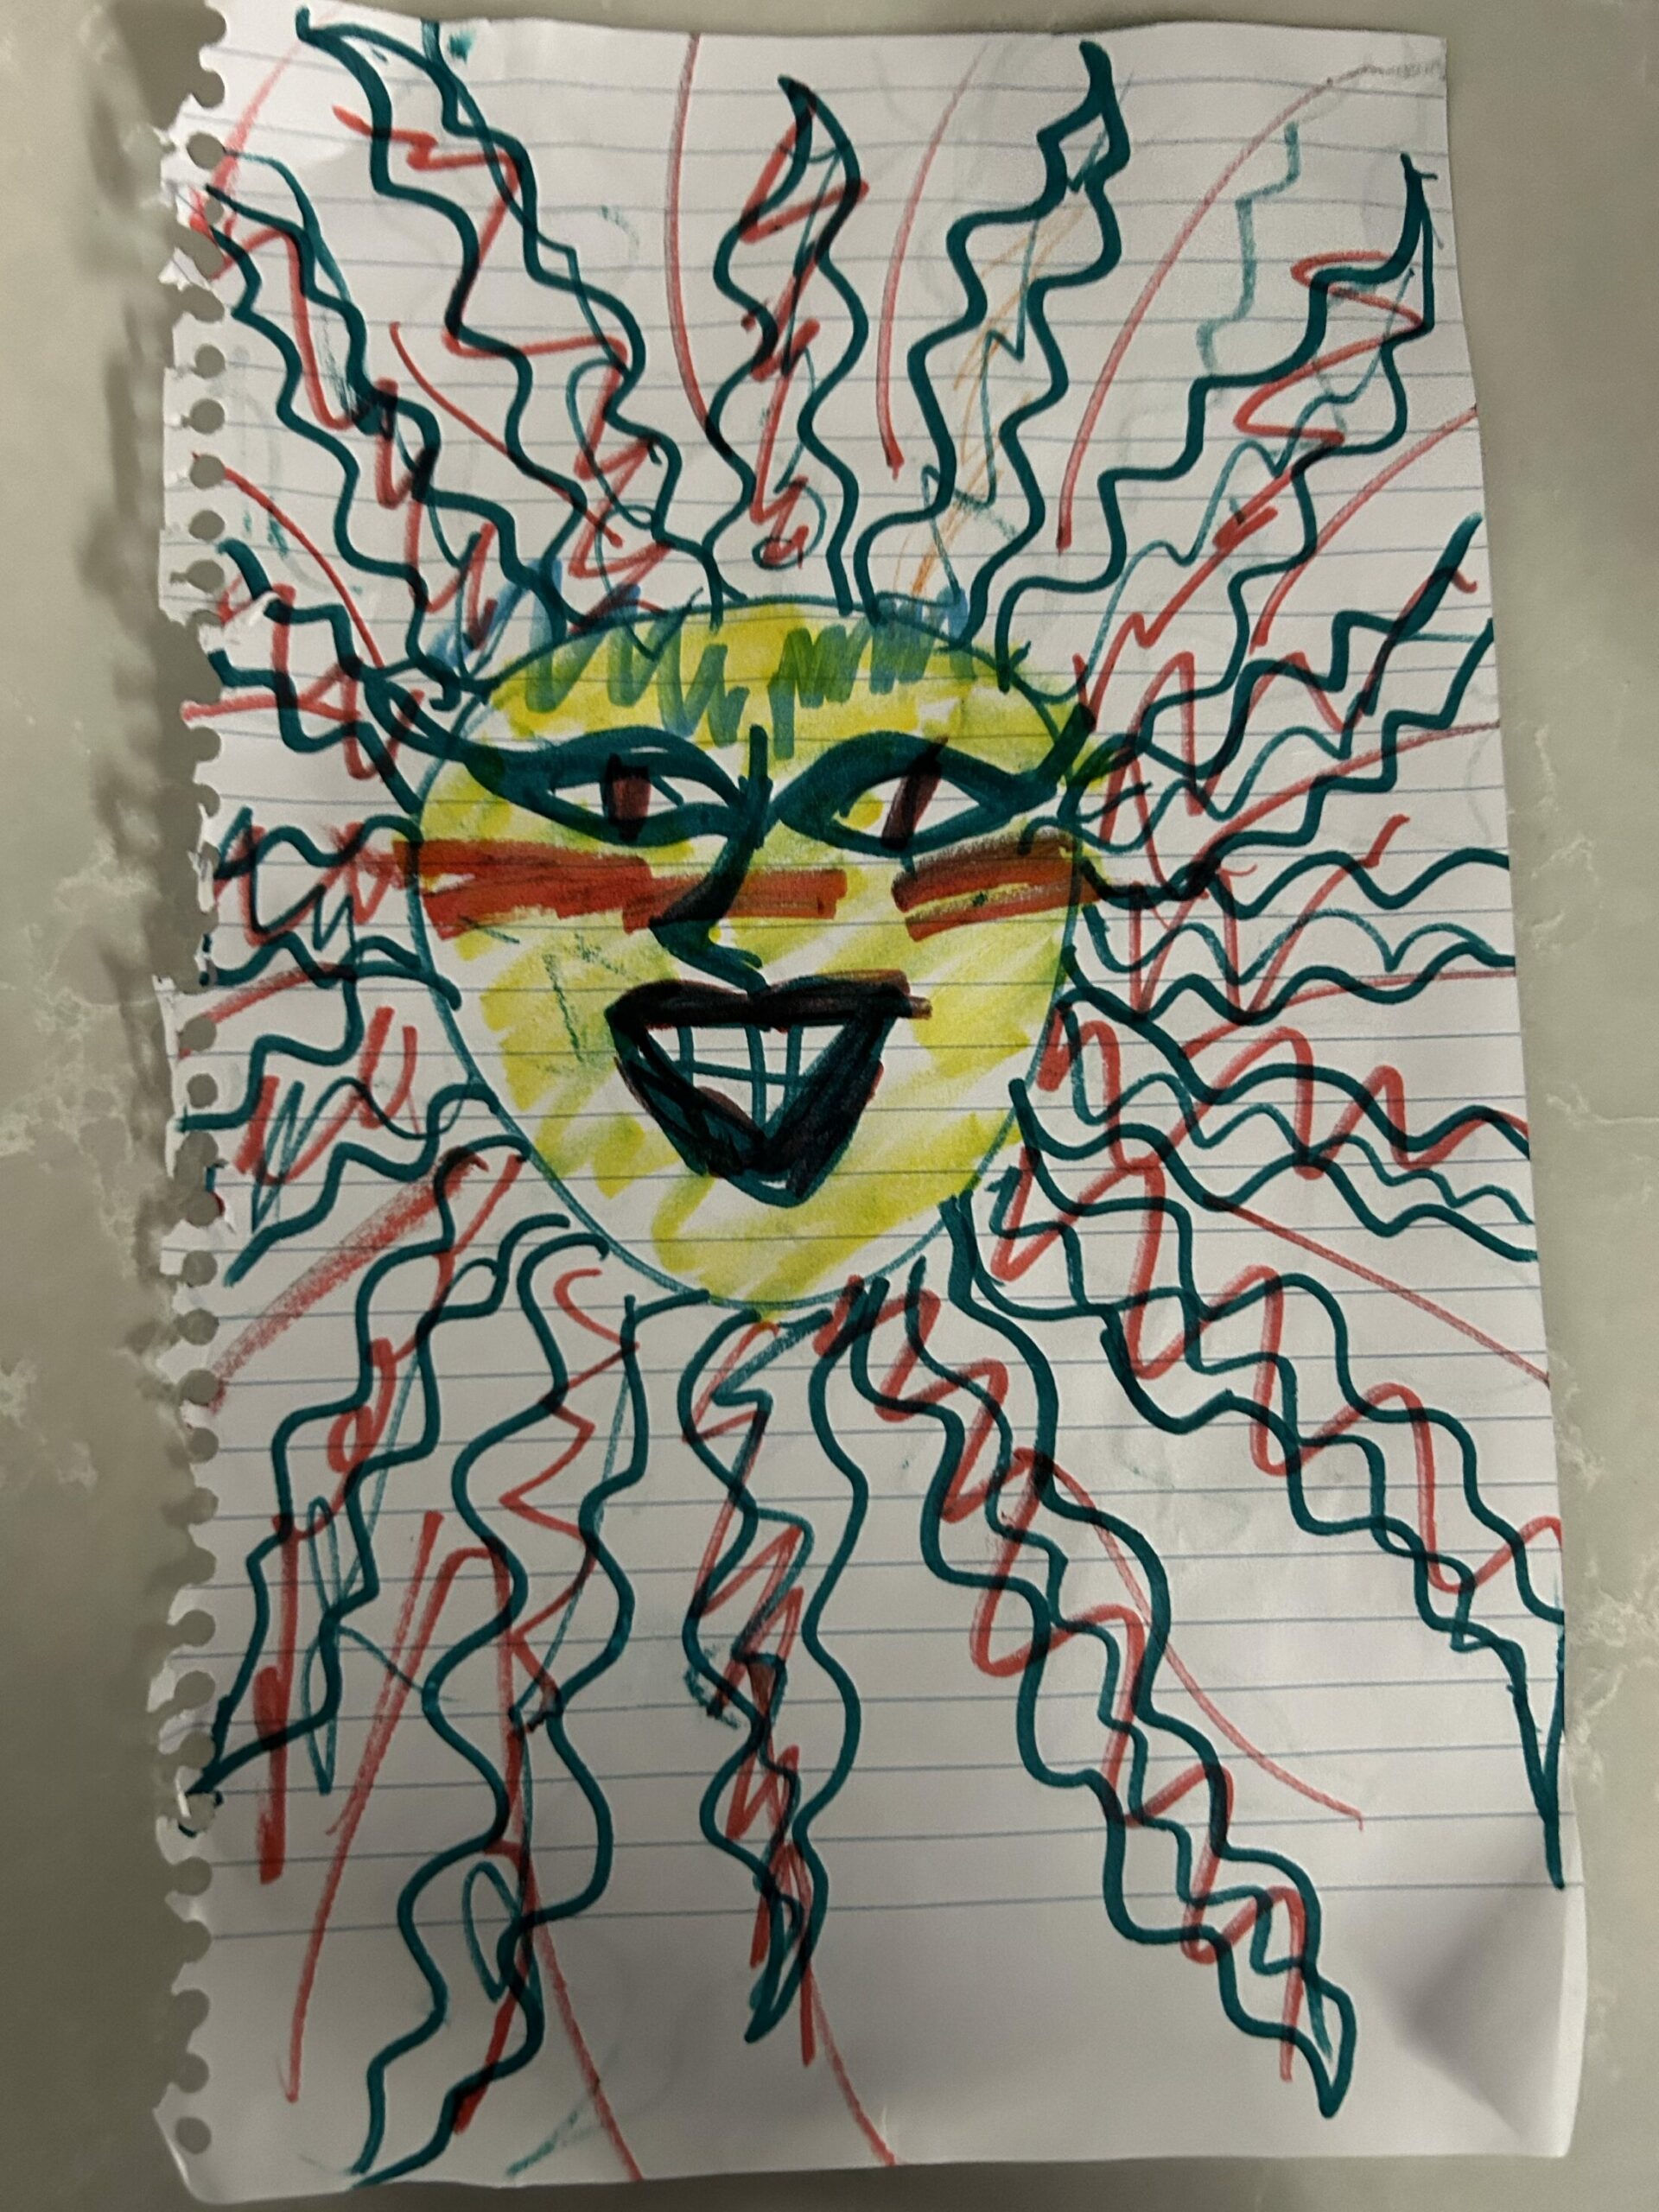
I ran this with a group of my friends as well as watched and participated in it being run in a classroom. The first prompt was the word “SUN”, the second prompt was “CONNECTING CIRCLES”, and the third prompt was “OBJECTS IN A LINE”. As you can tell, the descriptions are very vague in design, and the results are always super fascinating and somewhat unexpected.

I have attached 4 of my friend’s perspective drawings as well as my own from when I participated in it as a learner to demonstrate how unique they can turn out.

The “CONNECTING CIRCLES” prompt produced some of my favourite differences with my friends’ drawings: two that looked kind of biology-esc, one who turned the circles into flower petals, a large abstract and colourful depiction, and mine that were the Olympic rings and a solar system.

This is a great activity to use to merge subjects and use a simple idea to broach a more complex topic. My classroom teacher used this activity to introduce a discussion about politics and the different parties in the government during a Social Studies unit. For example, the first two drawings that look sciency are similar but still unique from each other, just like those who all support the Green Party (random choice of political party) are going to have similar ideals, but people will still differ from each other slightly. It makes kids understand how each person is different while respecting and celebrating the unique designs. Rather than compare whose was better, they were excited to see how each person’s mind worked differently and elevate it. If there is ever a lesson that the students are not understanding or are getting mixed up and frustrated, you could easily pull this out for a 5-minute activity to change up the parts of your brain that are being used and use it as a reminder that everyone’s brains work differently. Just pick a word that is somewhat connected to what you are learning and go from there!

I love this activity because it gets kids to come out of their shells a little more as well. Initially, they are assured that they have complete control and that nothing they can do would be incorrect/wrong. I witnessed the quiet, shy kids holding up their work and inspecting others. Kids who would not normally get along had nothing negative to throw at each other because there were no limitations, and their curiosity took over rather than fight or flight. For whatever reason people are super interested in both the results and the process of this art activity and seem to respond really well to it. I can’t wait to try this again in the future and see if my own curiosity and intrigue stay the same or if it diminishes over time.

I hope that, as a reader, you found this moderately interesting or were even potentially inspired to try it with friends or family. I thank you for reading and shall bid you adieu for now,

-Kristen

Free Inquiry: ARTS (#1)

For my free inquiry project, I was having a hard time deciding on a single focus, but I knew I wanted to do something that would give me a productive artsy outlet that I have been missing since my sculpture art education course ended last semester. So, I have decided to do a mix of multiple mini-projects that are fun, low-stress, and unique to prod at the age-old question of “What actually is art?”.

I love getting to learn and play with new topics of art, whether that be the variations of sculpture, digital design, simple drawing and painting, or the art of cake decorating. I am also excited to evaluate my mini projects throughout this term for their use or adaptation to use in a classroom setting.

My rough plan for this inquiry is to try and do one new mini-project every week (or occasionally 2 weeks) and present the latest mini-project along with a write-up that will include things such as why I chose the project, what technologies I used or tried to use, what materials I used, how the project went (what was hard, easy, had to be changed), if the project can be used as a classroom lesson (can it be adapted, how long did it take, are the materials cheap and accessible, can it be connected to a lesson of a different subject), and whatever questions pop up throughout the process. I plan to do an array of mini-projects that utilize a variety of different types of technology, such as screencasting, photos, guided online drawing tutorials, project-specific tools that can be classified as technology, the use of a ‘tech free’ approach and more.

A few of my ideas for potential mini projects include card/postcard making with either scrapbooking or watercolour, nature art using paint/leaves/crayons, drawing (art for kids hub), origami, sculpture, cake decorating, Canva design and whatever else sparks my creativity. I anticipate that some of the mini projects will take more time than others, like sculpture, so I will adapt as I go when it comes to timing.

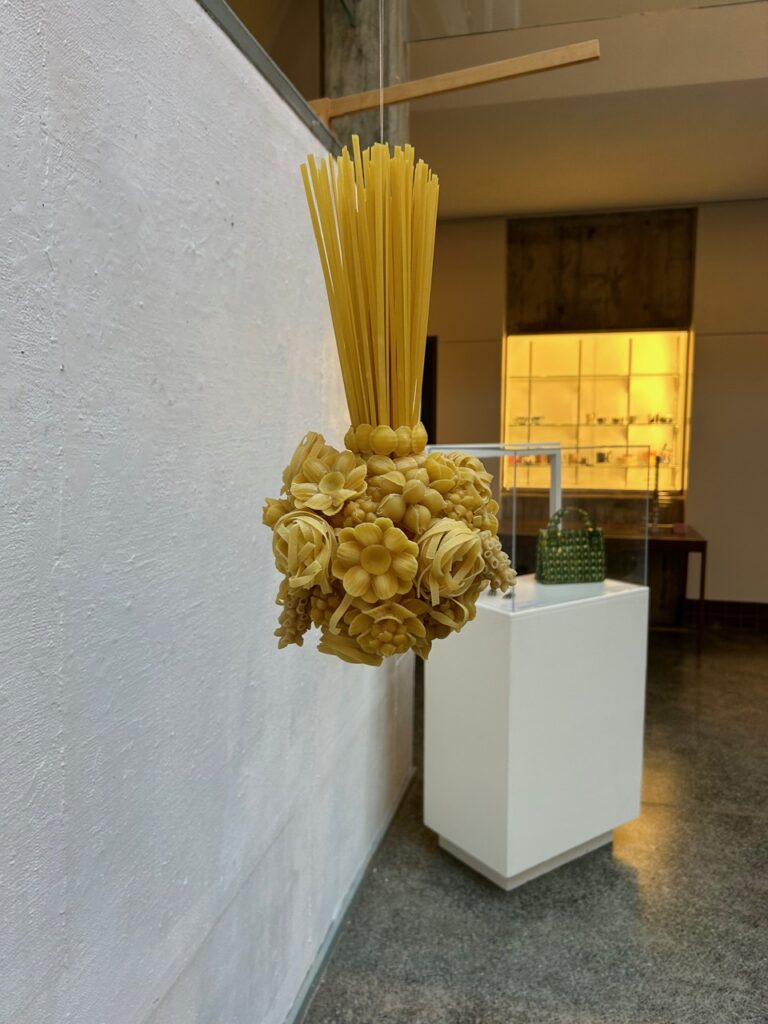
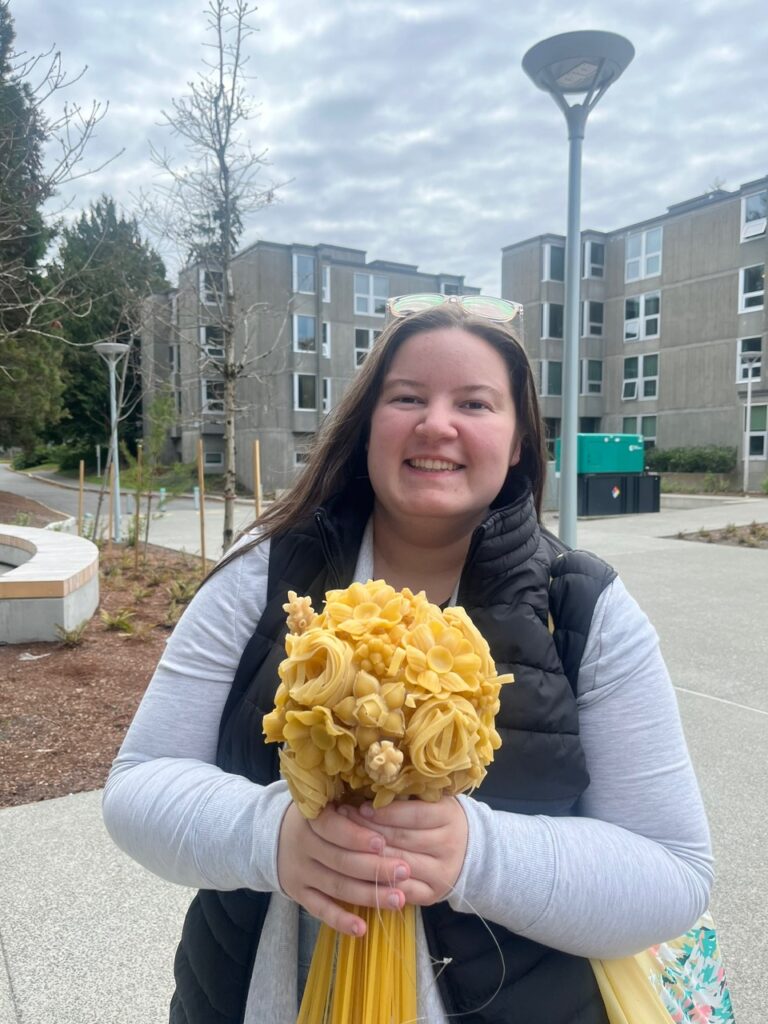
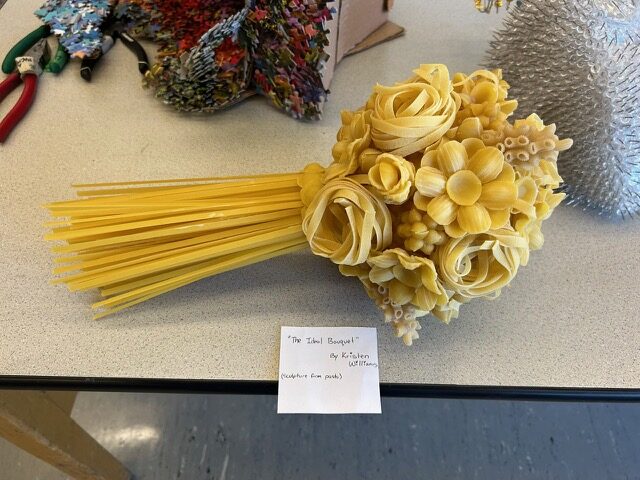
As a send-off, I wanted to include a few pictures of one of the sculptures I made in my sculpture class last year. It is undoubtedly one of the best things I have ever created, and I am super proud of it! It is called “The Ideal Bouquet,” and although kind of odd, it does have a story and symbolism that goes along with it that I would be happy to share and answer questions if there is interest.

Ta Ta for now,

-Kristen